

Why bother implementing a click and track system in worship?
00:54–3:20
Helps band members play in time with each other
No more rushing or dragging during your worship songs. Having a click track is going to make sure the songs are at the tempo that they're supposed to be.
Gives you the ability to use guide cues
Guide cues tell you what part of the song is coming up next. I love how guide cues give you the ability to just start a song without a drummer counting off with his or her sticks because it's counting off the song and into everybody's in-ear monitors,
Supplement the sound of your band
Backing tracks make the sounds of Hillsong, Bethel and Elevation Worship really accessible for us worship leader serving at smaller to mid size churches.
Sync lighting a lyric cues
Every Sunday at our church, we use Ableton Live to cue up all the lyric slides running in ProPresenter, and all of our lighting cues that are running in Lightkey, which is our DMX software. I'm a huge geek about Ableton Live and automating things, because it just makes things go so smoothly in worship. It eliminates so many mistakes.
How to keep everything running smoothly
3:20–3:58
In order to get up and running smoothly with a click and tracks, you need to make sure your band has in-ear monitoring. In-ear monitoring is important because you want your band members to hear the click and the guide cues in their ears. You can't send that signal through the floor wedges or else that will just sound really weird.
Software and Hardware to run a click and track
3:58–4:36
Now let's talk about the software and gear to make it possible to run a click and track for your worship band. A click and backing tracks rig consists of three parts.
Software
Playing back all the audio files, whether it's the click, the guide cues, as well as ambient pads or other backing tracks you may buy.
Playback device
Simply runs the software that is running the audio files (desktop, ipad, etc.).
Connectivity devices
Sends audio from play-back device to the front-of-house sound console. So it goes through the sound system, the main PA, as well as the in-ear monitors.
Software options
4:36–8:16
1. Ableton live
Ableton Live is my number one recommendation for software for running this and doing a whole lot of other cool things for your worship ministry. Of all the software options, Ableton is hands down the most powerful for running a click and tracks in worship. That's why bands like Hillsong, Elevation, Bethel, Jesus Culture, Red Rocks Worship, all use Ableton Live to run their tracks.
Cost
Ableton Live is the great route to go if you're super serious about running a click and tracks and automation, and it's a great route to go if you have the funds. I always recommend the standard version of $500 for worship leaders.
I actually created a 60 minute masterclass on it and I dive into a seven step process for running a click, tracks and automating lyrics and lighting in worship so that you can easily understand Ableton and its capabilities.
2. Prime app
My next recommendation for software is the Prime app created by the Loop Community. It’s an iOS-based software, so it runs on your iPhone, iPad and Mac operating system. It's completely free, and since it was designed specifically for this purpose of running a click and tracks in worship, the user interface is simple and super user friendly.

The other cool thing about the Loop Community Prime ecosystem is that you can have free Cloud storage to store all of your tracks in their Cloud. Whether you buy from Loop Community or somewhere else, they'll keep them stored in the Cloud. Then you open up the app on your phone or your iPad, and your purchases will show up right there in the app within your account.
3. The Playback app
My next recommendation is the Playback app created by the team at Multitracks. It’s very similar to Prime and very user friendly.
The downside is it only runs on iOS devices, so it doesn’t have a Mac version. But once again, this app is also very user friendly and intuitive.

Playback’s rental program
When you start getting tracks to use for worship, you discover that it can get really expensive really fast. Because if you buy full Multitrack stems, it can cost anywhere from $25 to $35 per song.
BUT Playback has a great rental program. You can pay 50-100 bucks a month to have access to however many unique songs you'll need for your worship team.
That was a ton of information so here’s a quick recap:
I recommend Ableton Live if you're really serious about this and you have at least one to two hours a week that you can spend on prepping your click and backing track sessions.
If you just want the quick and easy way to run a click and tracks, and you don't need that advanced control, then check out Prime or Playback. I recommend downloading both of them, giving both of them a try, and see which one of them you prefer.
Hardware options
8:16–9:06
Now that we've covered the software side of things, let's talk about the actual playback device.
Mac
If you're using Ableton Live, run it on a Mac. It works on PC, but your life is going to be much easier, especially if you do automation, if you're running everything on a Mac ecosystem.
iPad
If you're going the Prime and Playback route, then go ahead and find a decent iPad that you can use. Especially these more recent iPads, like the iPad Pro is super powerful, it can easily run either one of these apps very smoothly.
Connectivity
9:06–12:43
Now let's talk about getting the sound from your playback device and software to the front of house sound console.
1. 3.5 mm, put into DI box
You could easily just pull the audio from the headphone jack, whether it's from your laptop or your iPad, and send the audio to your front of house console that way.
Usually with those headphone jacks, what you can do is get a 3.5 millimeter dual quarter inch cable and put it into a DI box.

On the left, you're going to have just the click and guide cue, so that goes into its own channel on the mixer.
On the right, you're going to have all your backing tracks which goes into a separate channel.
Then, your front- of-house sound engineer can actually send just the click and guide cues to the in-ear monitoring, and then all the tracks can go to the front of house PA, as well as in-ear monitors if you want to hear that.
2. Find a dedicated audio interface like the Behringer 404 HD Audio Interface
Another option I recommend is finding a dedicated audio interface. This can work whether you're running Ableton on a Mac, or if you're running Prime or Playback on an iPad.
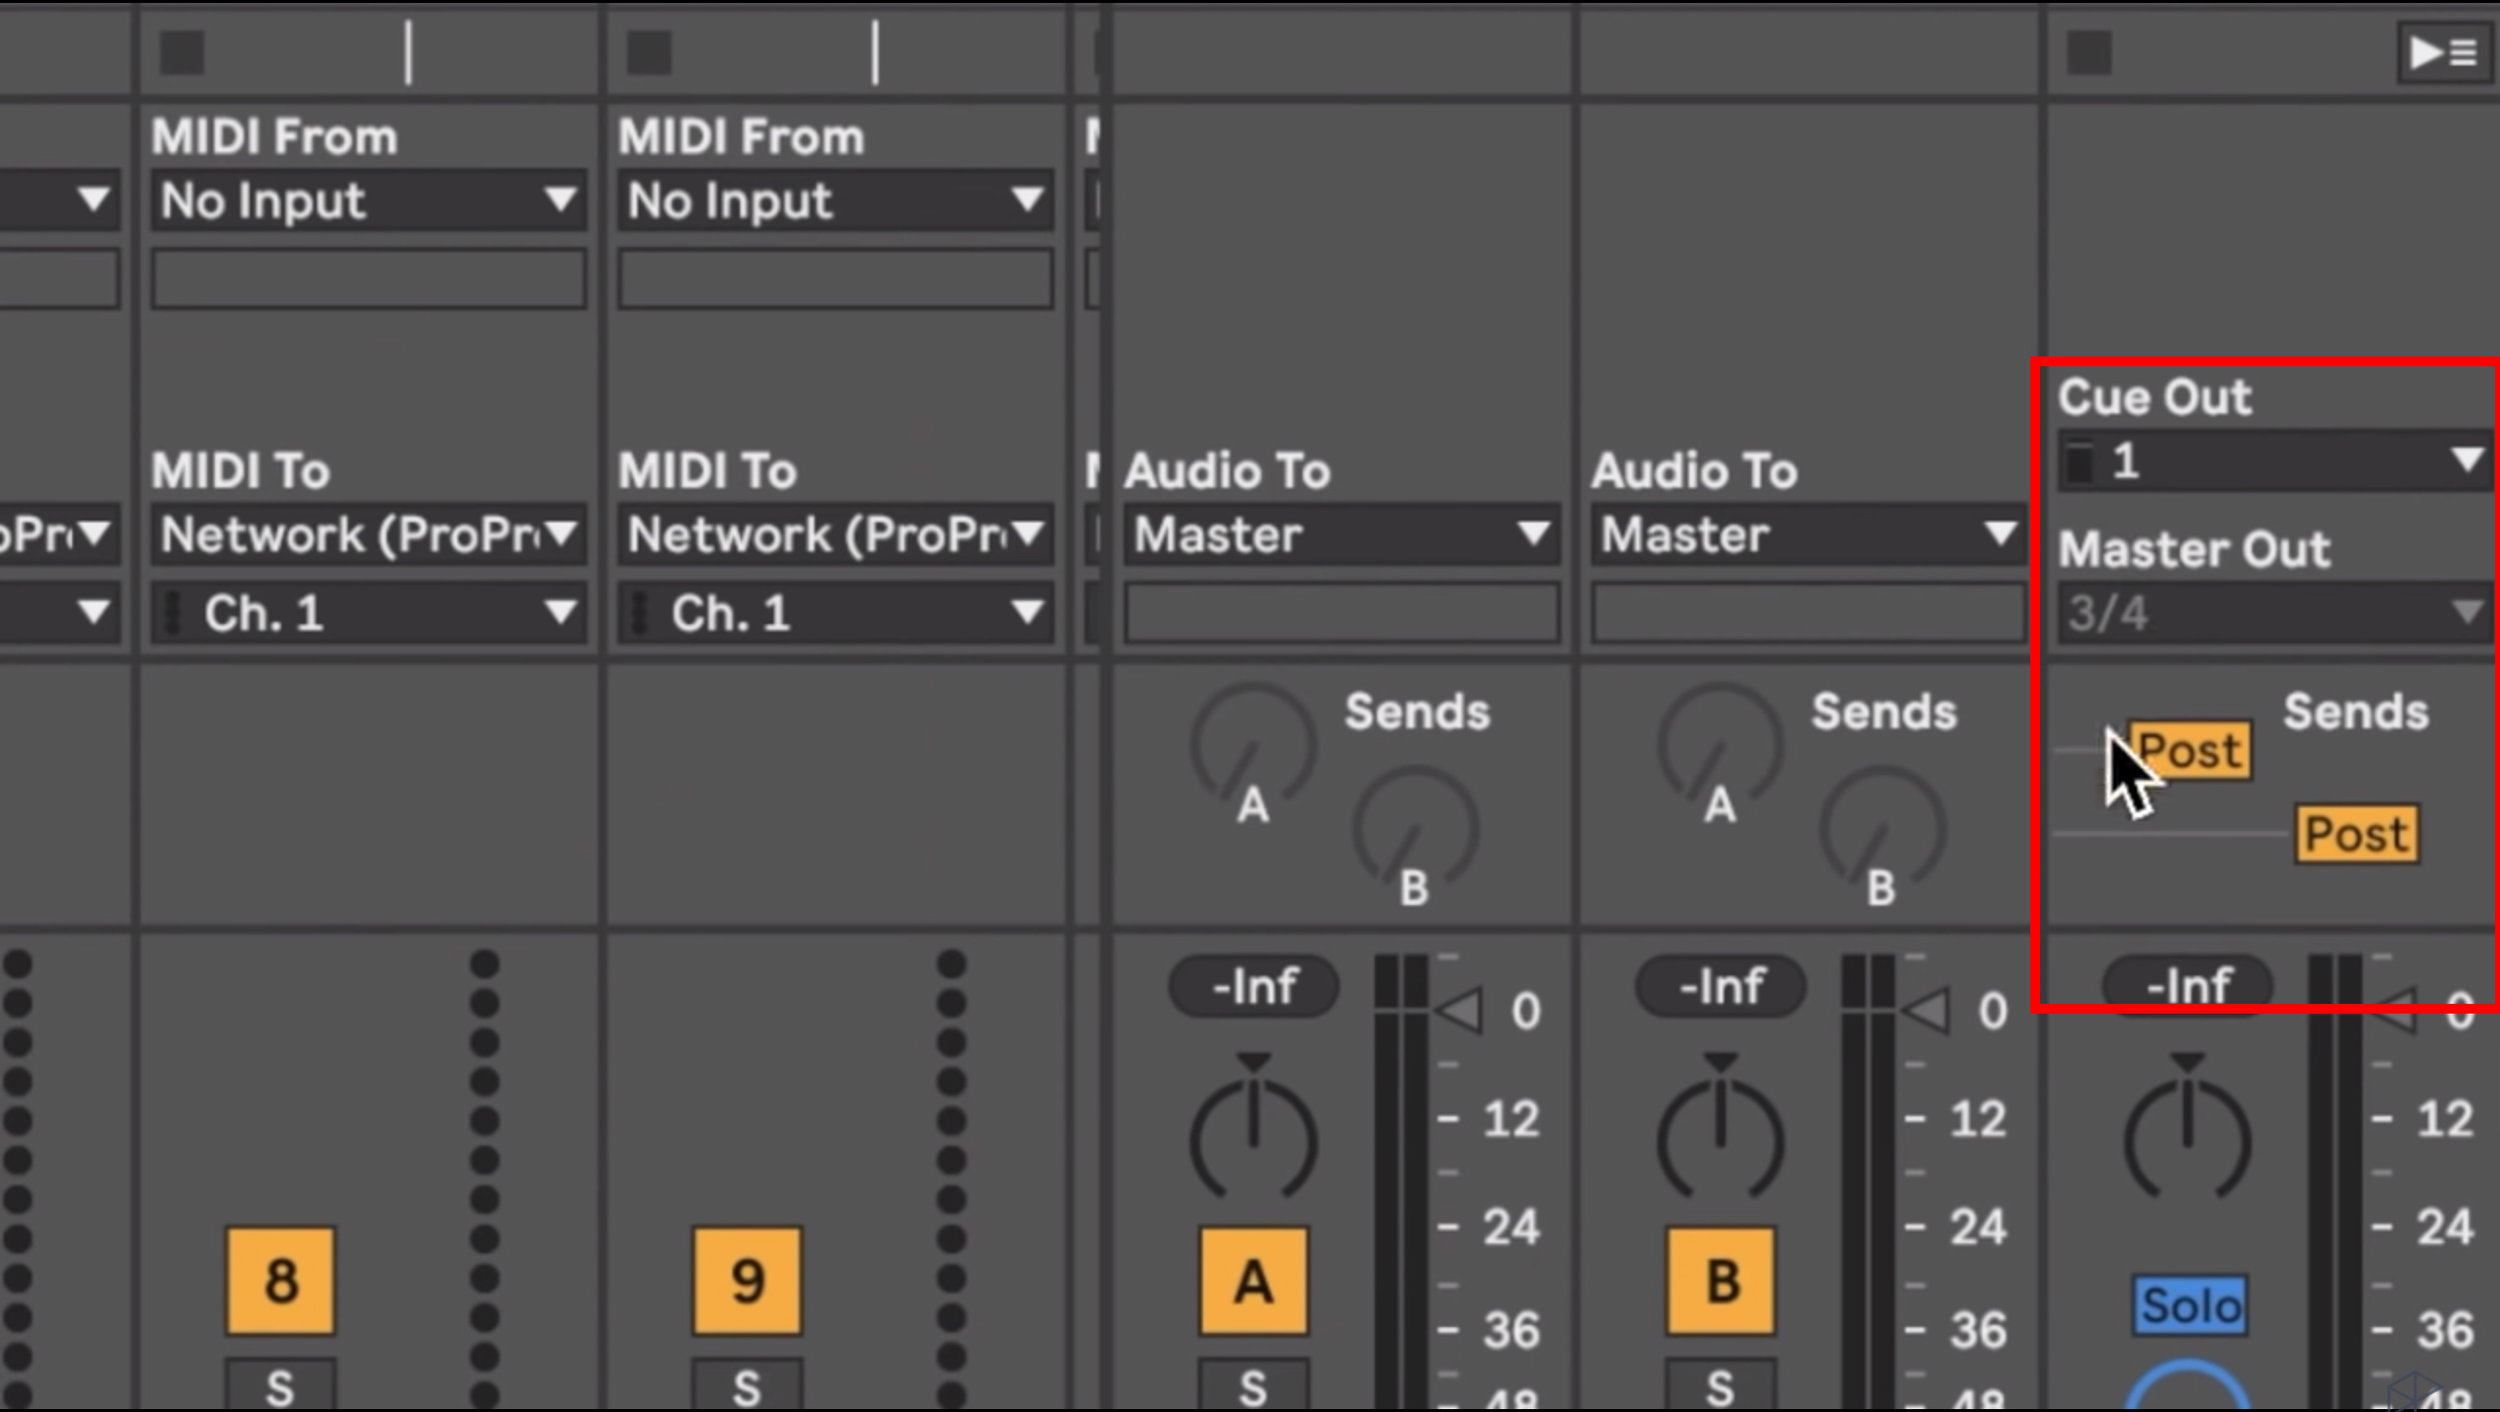
At my church with our Ableton Live rig, we’re running the Behringer 404 HD audio interface. It has four quarter inch outputs on the back of the audio interface, so instead of being limited to just the two outputs we get from a headphone jack–being a left and right stereo–we can actually have up to four outputs.

Here's how we divvy up our audio outputs from Ableton
We put our click and guide cues on channel one.
We put all of our really bass heavy tracks on channel two.
Then for channels three and four, we run all the rest of the tracks in stereo.


Benefits of this setup
We found that this keeps our setup really simple. We could get a bigger interface and send more channels to our front of house sound console, but I want to make it easy for my sound techs to mix in the tracks with the rest of the band.
It also keeps the bass track separate from the other tracks which really clarifies our mix and it sounds awesome.
Sidenote: With the Behringer audio interface, we use a quarter inch to XLR snake to get the sound from the audio interface to our stage box.
3. Track Rig
I also want to mention another great option you can use that just came out called the Track Rig by Loop Community.
I haven’t used it myself, but it looks incredible.
This is an audio interface designed specifically for running tracks in worship. They have eight XLR outputs on the front of this thing, you could just mount it in a rack if you want, you could just put your computer on top of it.
It has a USB hub on it for getting the connection from your computer to the interface, as well as plugging in any other many devices that you're using alongside of your rig.
Hopefully I'll get my hands on one soon. I just wanted to make sure that you guys knew about it, and if you had the budget for it, I think it's definitely worth giving a try.
4. Peavey USB-P audio interface
Finally, while I'm talking about connectivity devices, one of my favorite devices I've come across is the Peavey USB-P audio interface.
It's a little two channel audio interface and it's great if you just want to separate your backing tracks into the click on the left and all the other tracks on the right.

This audio interface is only 50 bucks, it has two XLR outputs on it and I made a video showing you how to set it up. Definitely worth looking into if you just want a simple interface and you’re using a Mac computer to run either Ableton or Prime.
Recap
There you have it, folks. Those are my recommendations for the software, the playback devices and connectivity devices to build your own click and backing tracks rig for your worship band.
It’s definitely a lot of information and I get it if you’re feeling a little overwhelmed by all of it so I opened up my calendar to chat with you about any questions you might have.
If you’re interested in running this rig let’s set up a call.
**Click HERE to chat**
Talk soon!