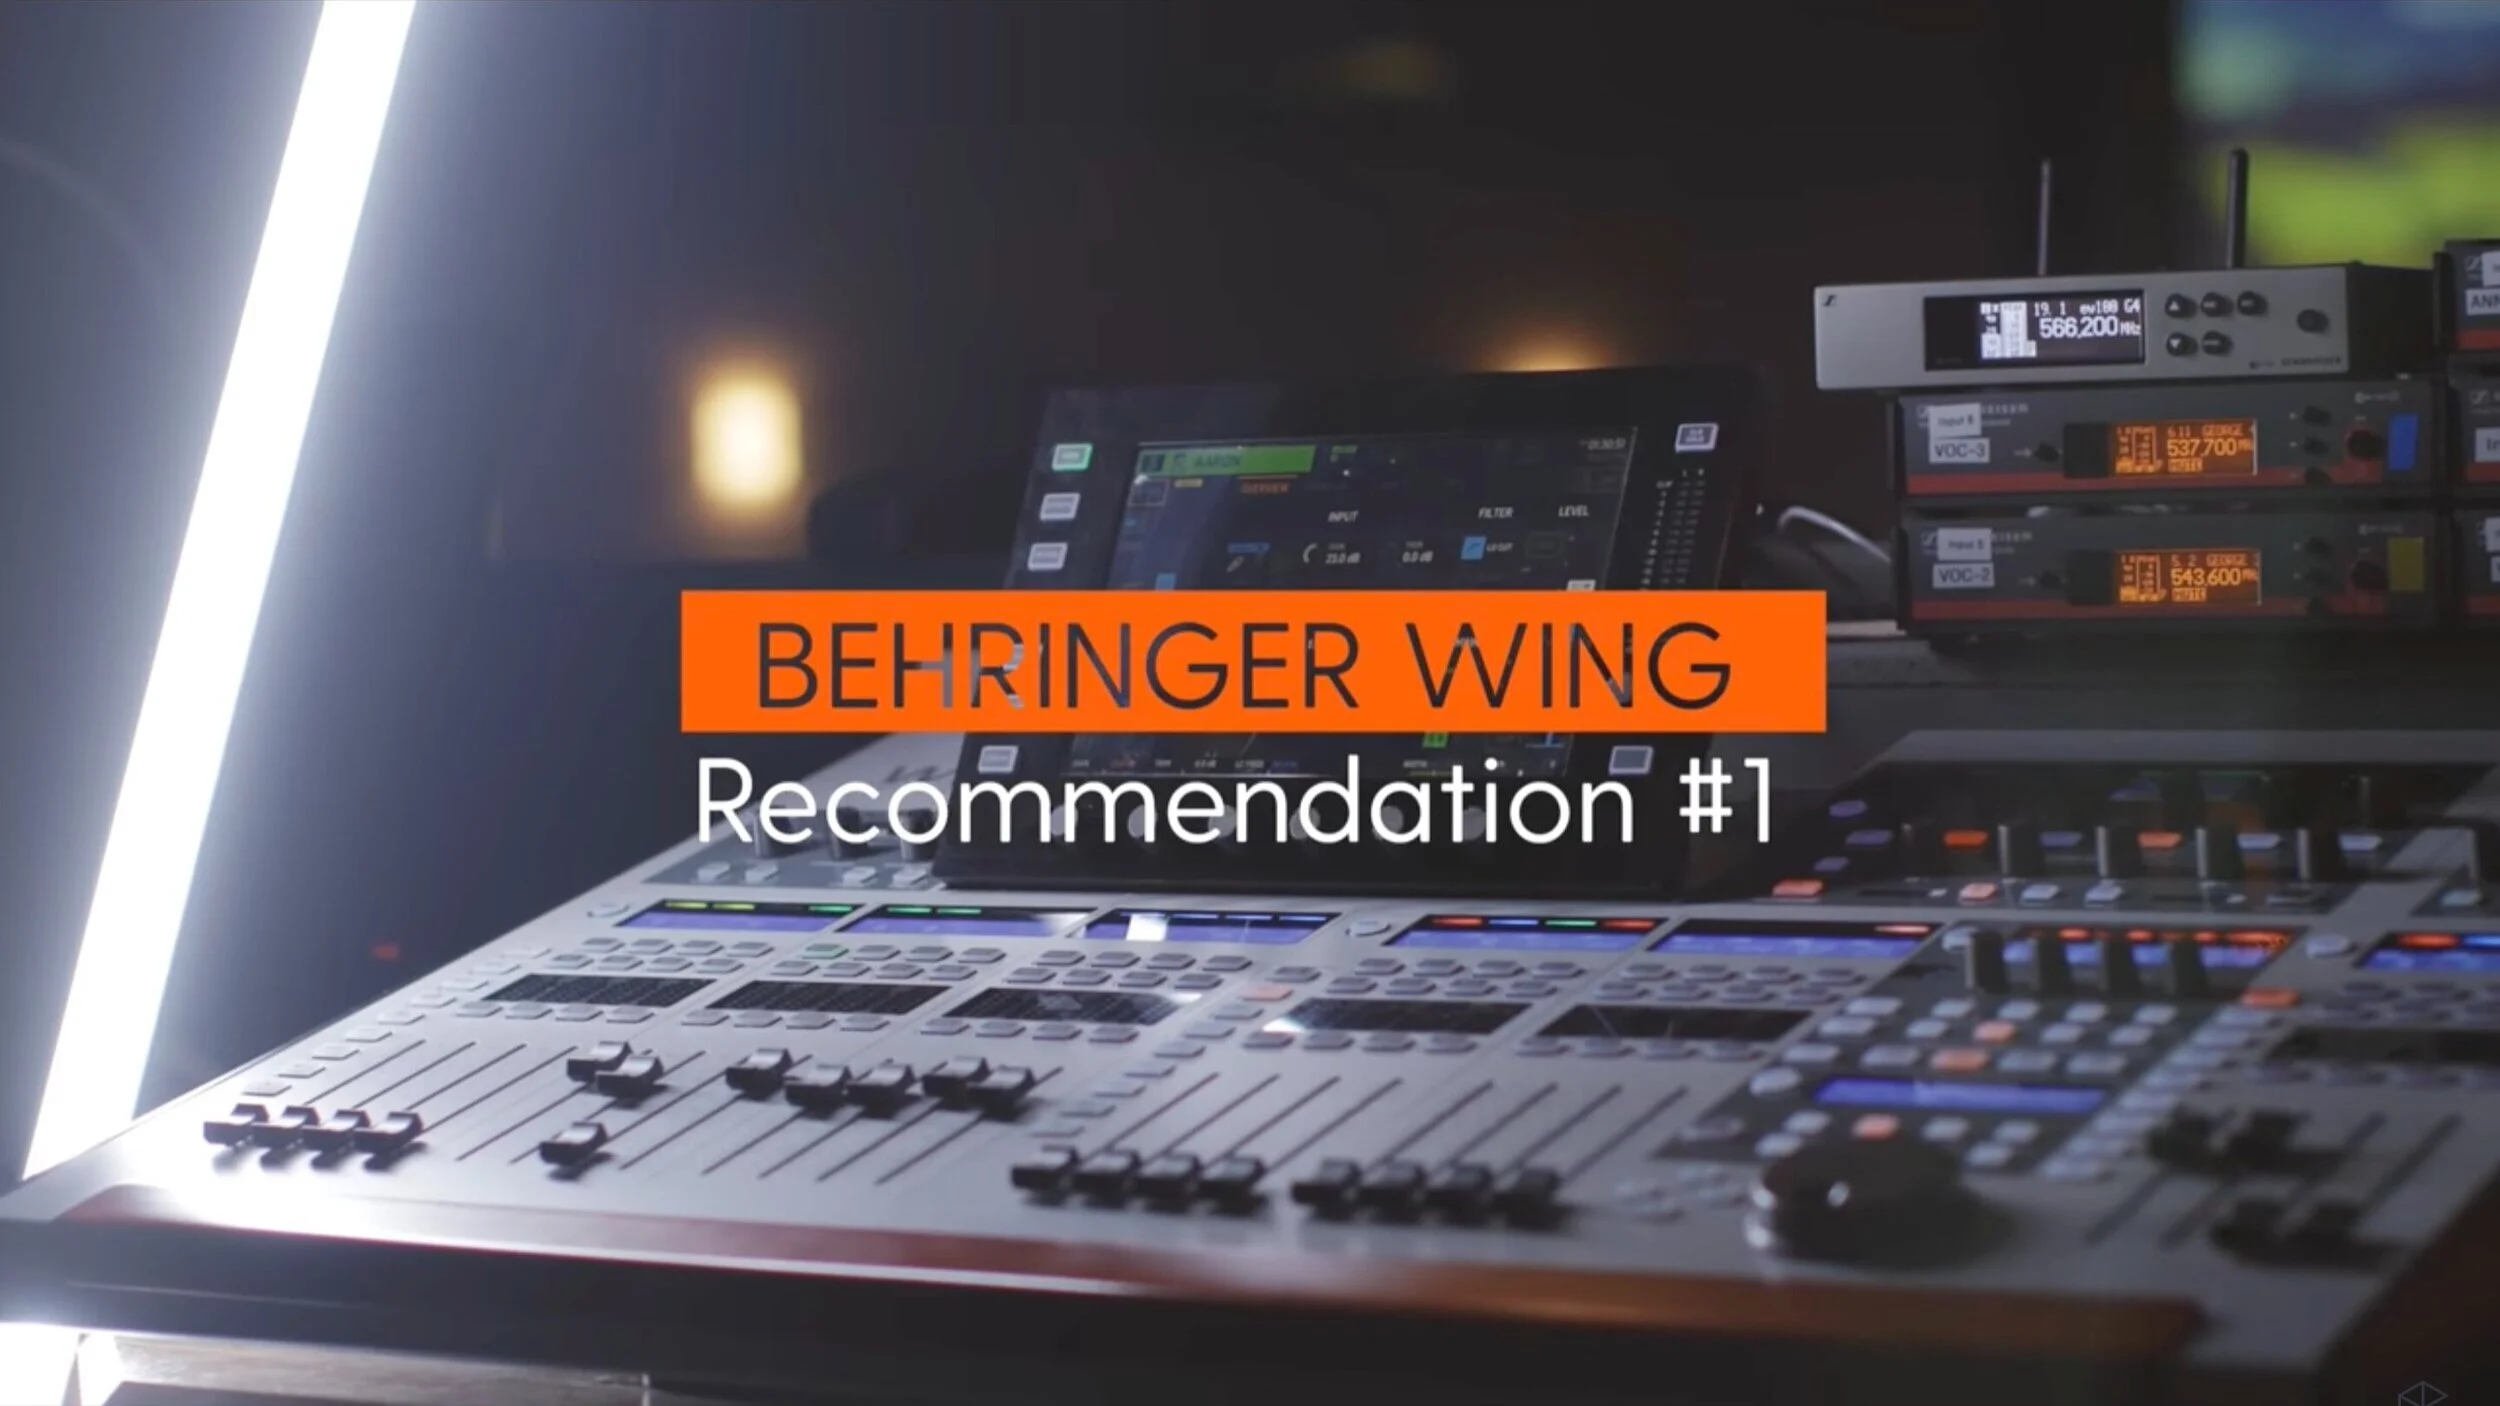
Welcome back to our continued Worship Tech Tour Series featuring The Belonging Co.
This post covers all things keys and tracks within The Belonging Co.’s setup. For the fullest explanation of how all the hardware and software works together, it’s best to watch the video above of The Belonging Co.’s Music Director, Evan Fernald, walking through everything in detail. This is the too long; didn’t watch post. In other words, here’s a tight-packed list of The Belonging Co.’s setup as a quick-reference guide.
Do you want to improve your church’s ability to use tracks and keys to the best of your ability? Stewarding these tools can be hard. We want to help coach you and/or your keys players. Check out Worship Ministry School, where we have created courses on all things Ableton, MainStage, Keys, and more. We also offer one-on-one coaching. Let us help you today!
Who is The Belonging Co.?
PRESENCE OVER PRESENTATION. INTIMACY OVER INDUSTRY. PEOPLE OVER POSITION. ENCOUNTER OVER ENTERTAINMENT.
JESUS OVER EVERYTHING.
That is The Belonging Co.’s mantra.
The church began with their lead pastors, Henry and Alex Seeley, opening up their home for worship in 2012 after taking a leap of faith and moving from their home of Melbourne, Australia to Nashville. Their hearts were drawn to those who didn’t have a church home because of the fluid schedule of so many whose lives revolved around a touring schedule. By the Lord’s grace, he drew a people together, and The Belonging Co. began.
Now, The Belonging Co. holds services at two campuses along with its online ministry, has a thriving worship ministry, and even offers college degree programs for students.
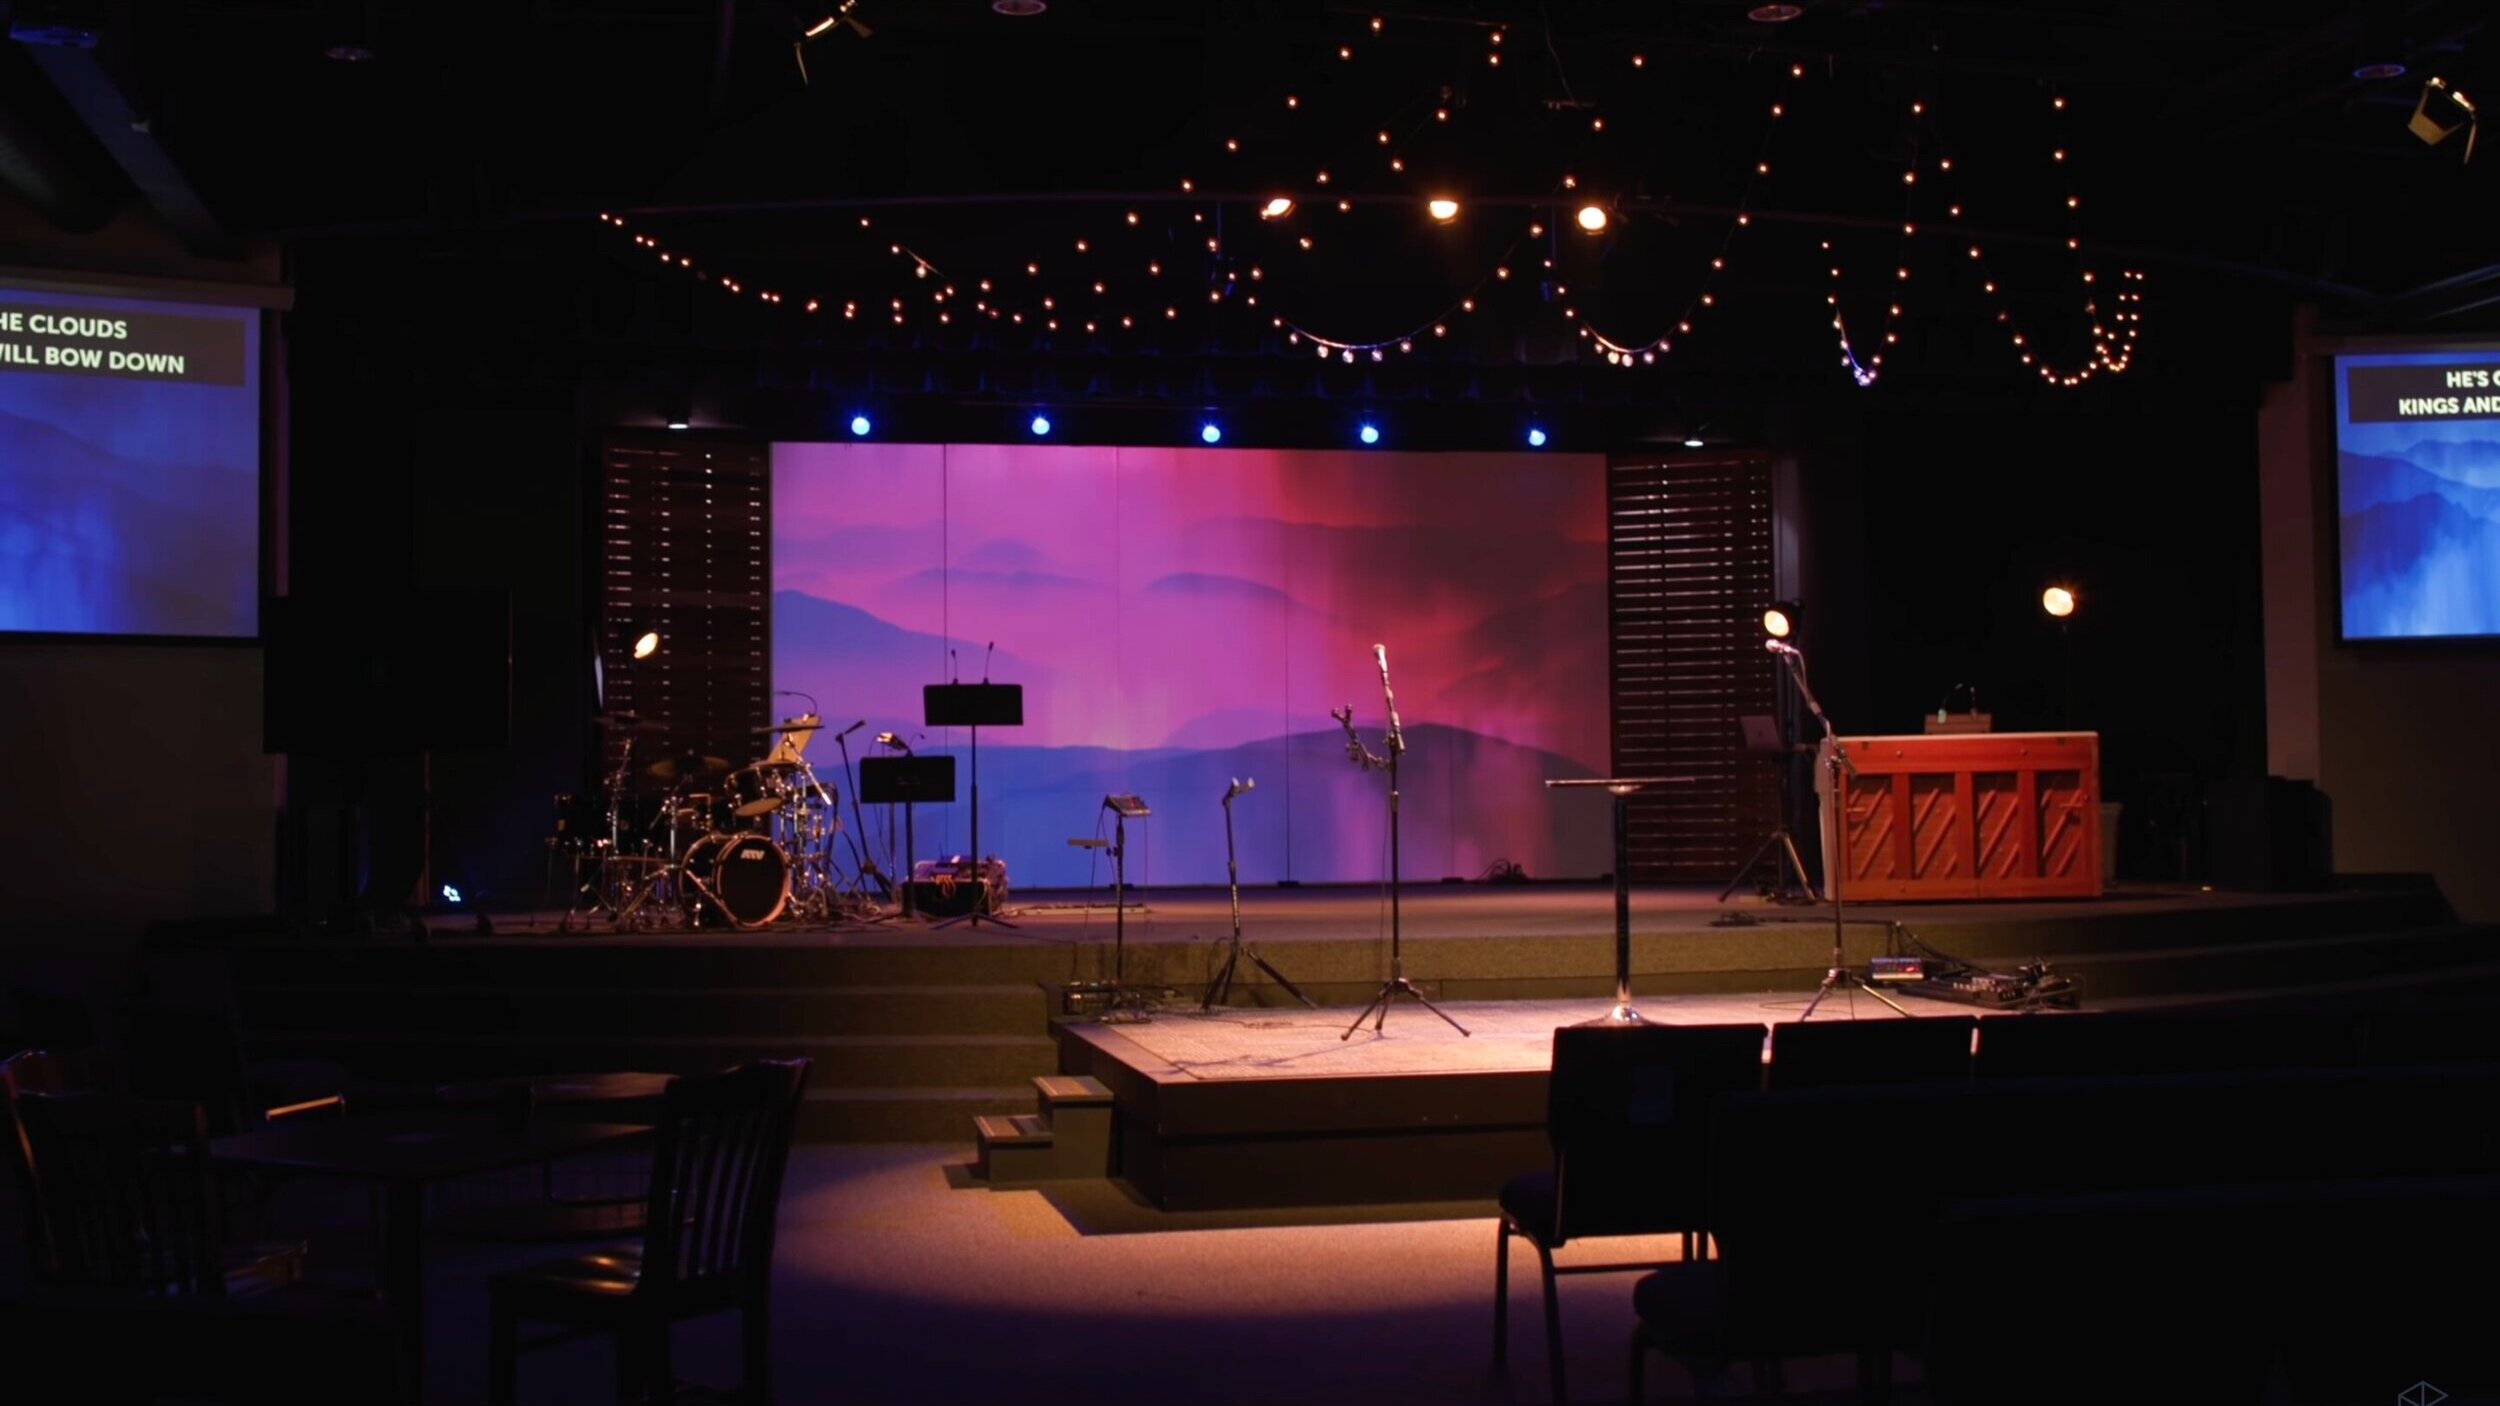
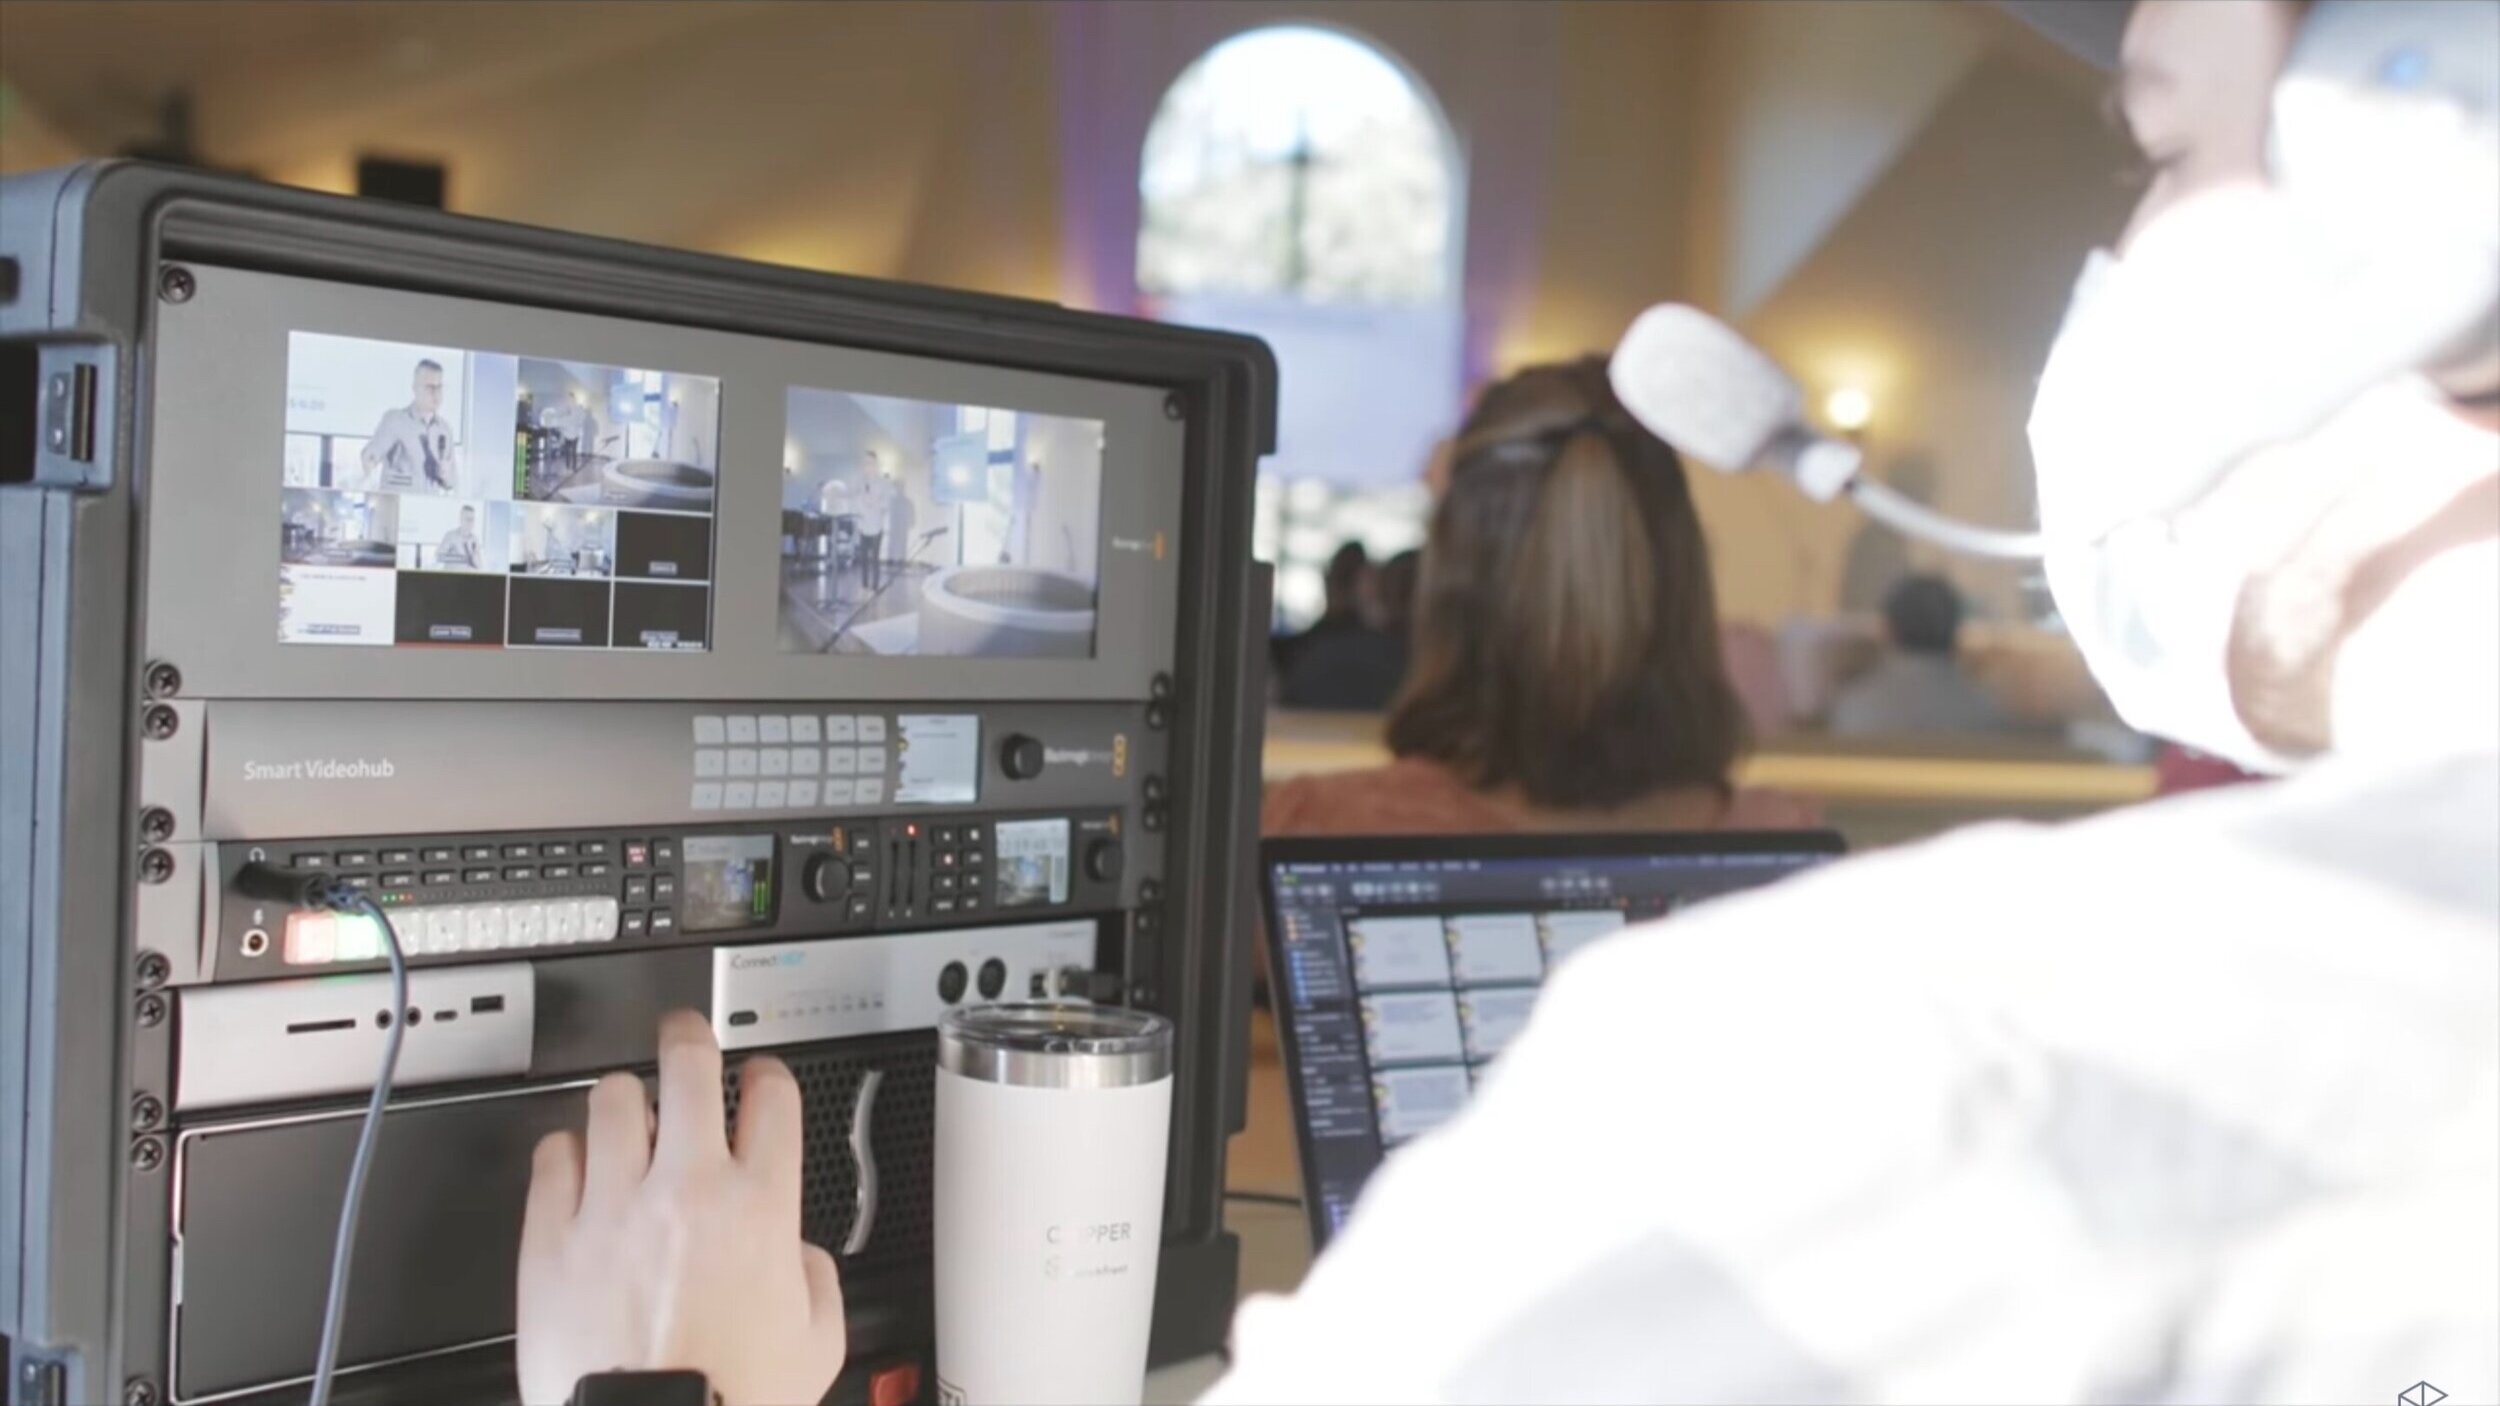
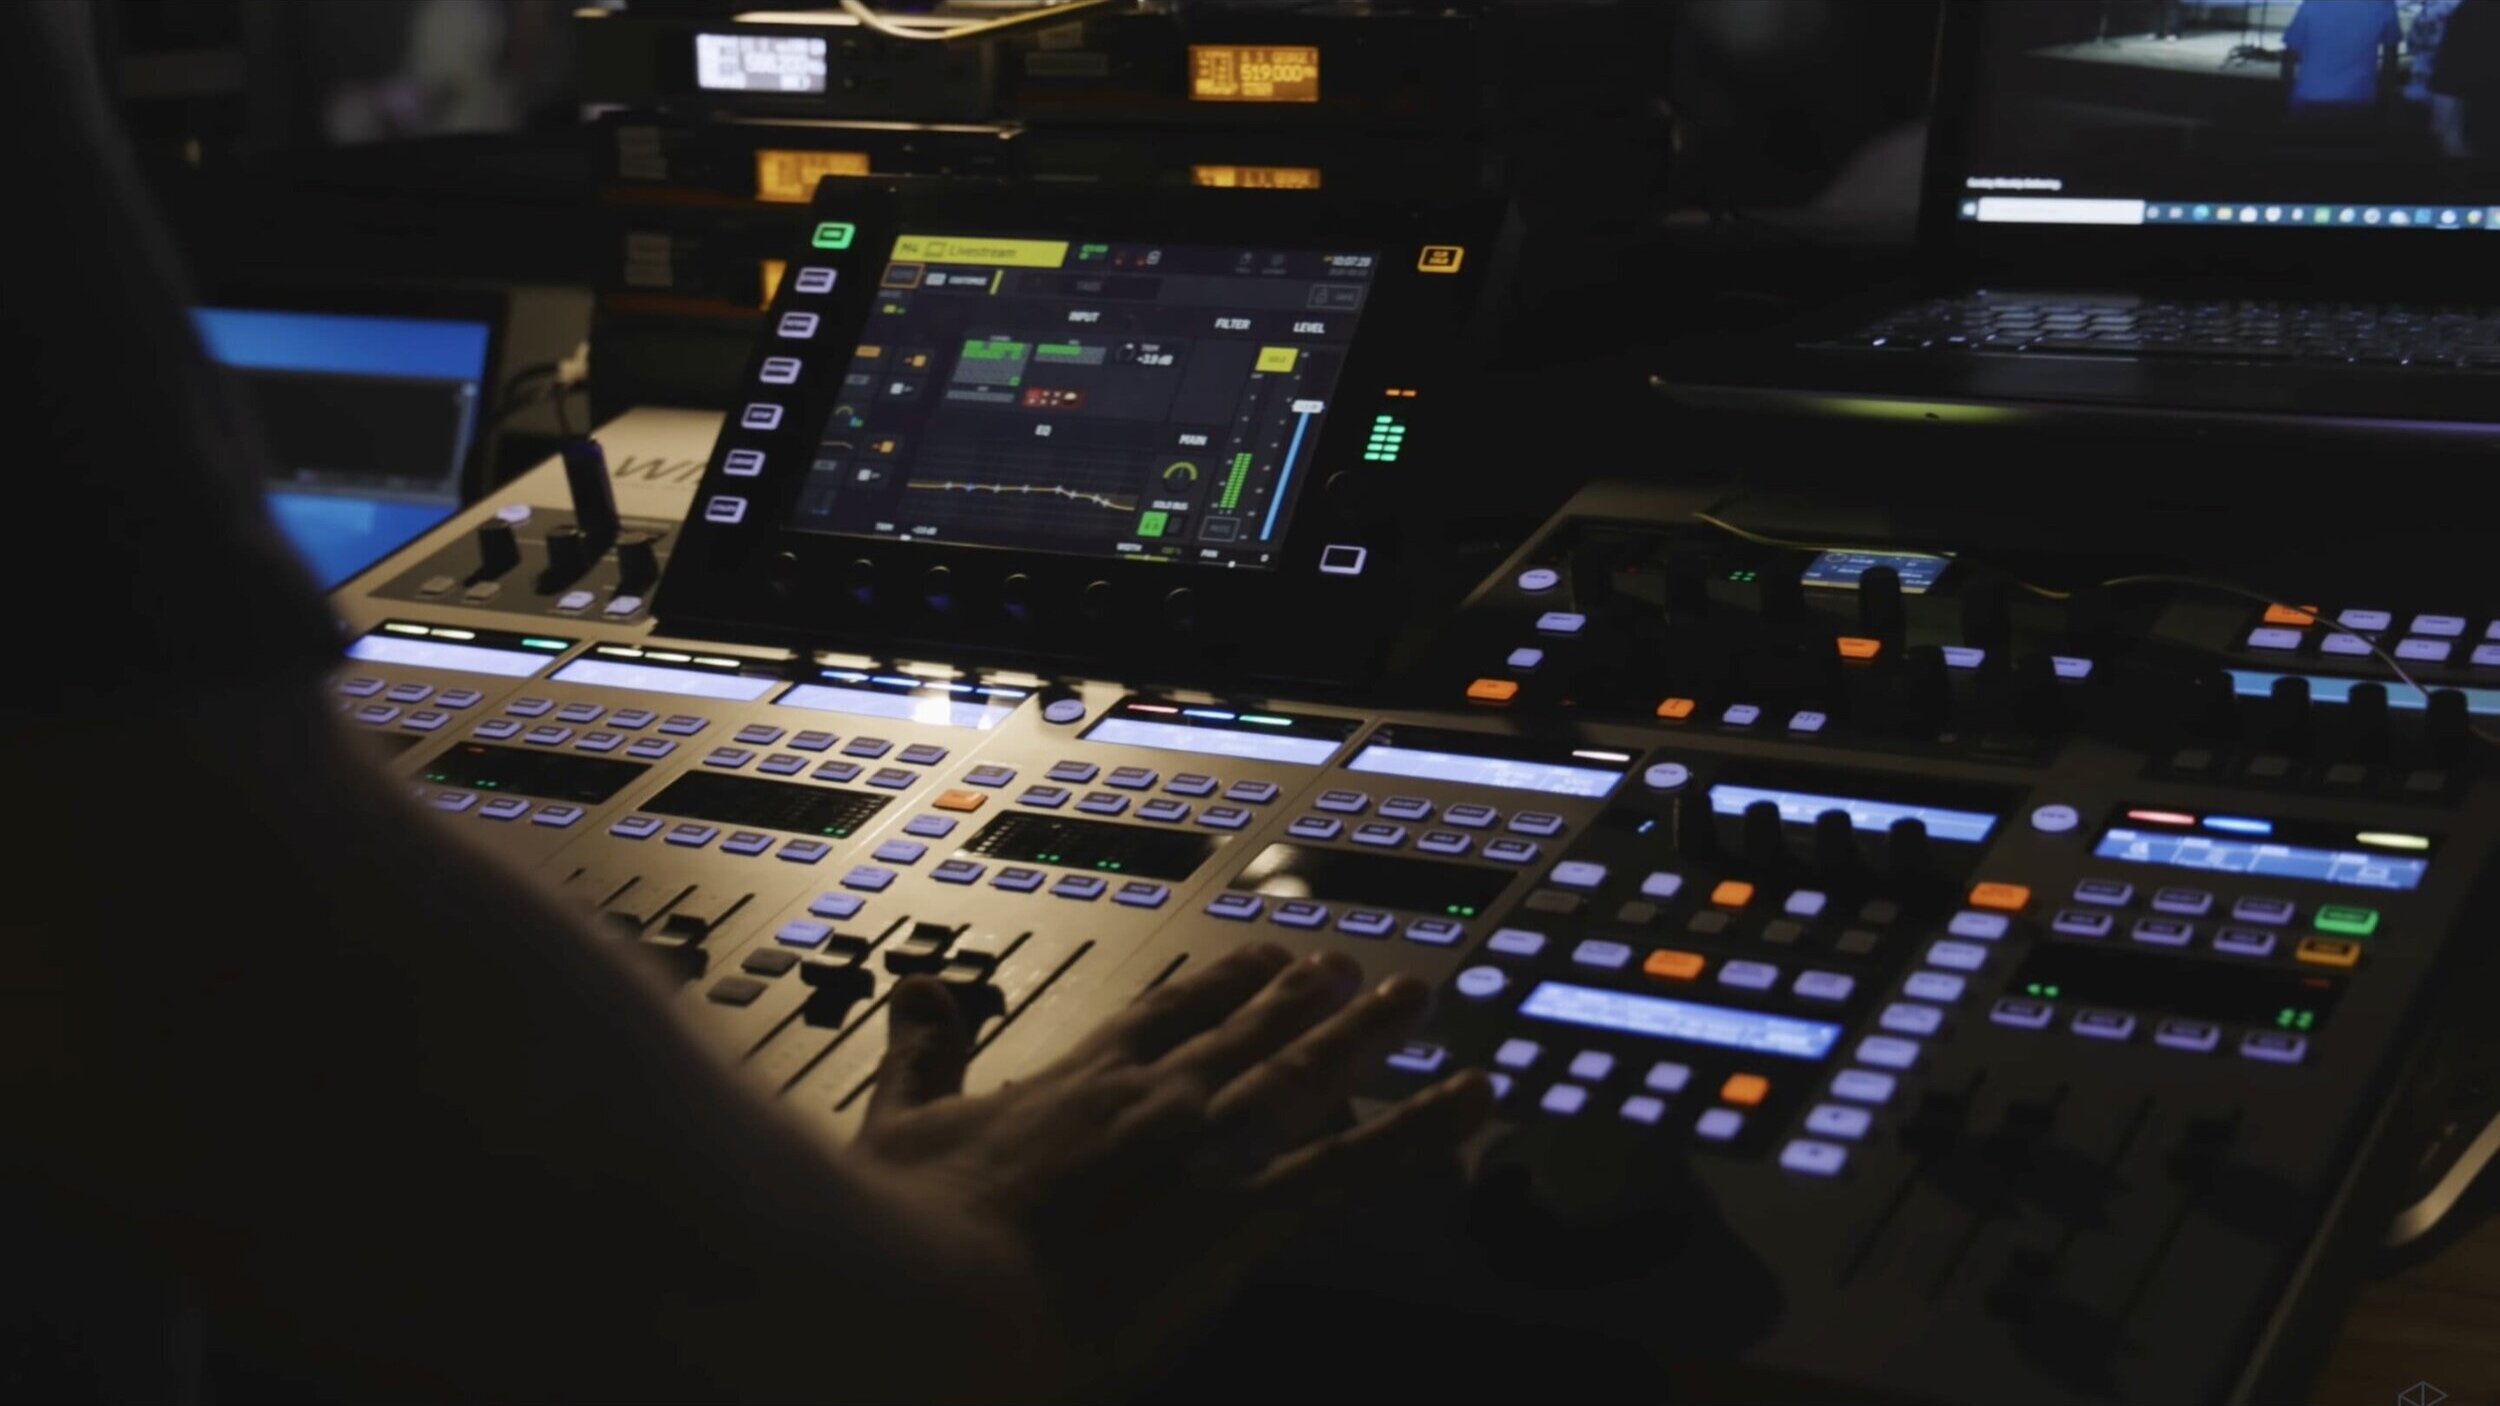
Tracks Rig
Most churches have their keys player or drummer running their tracks. This is not the case for The Belonging Co. In fact, they have their own dedicated tracks setup and team to run the tracks. Obviously, most churches won’t have the volunteer or financial bandwidth to pull something like this off, but this setup can serve as inspiration as churches grow in their ability to run tracks effectively.

Hardware
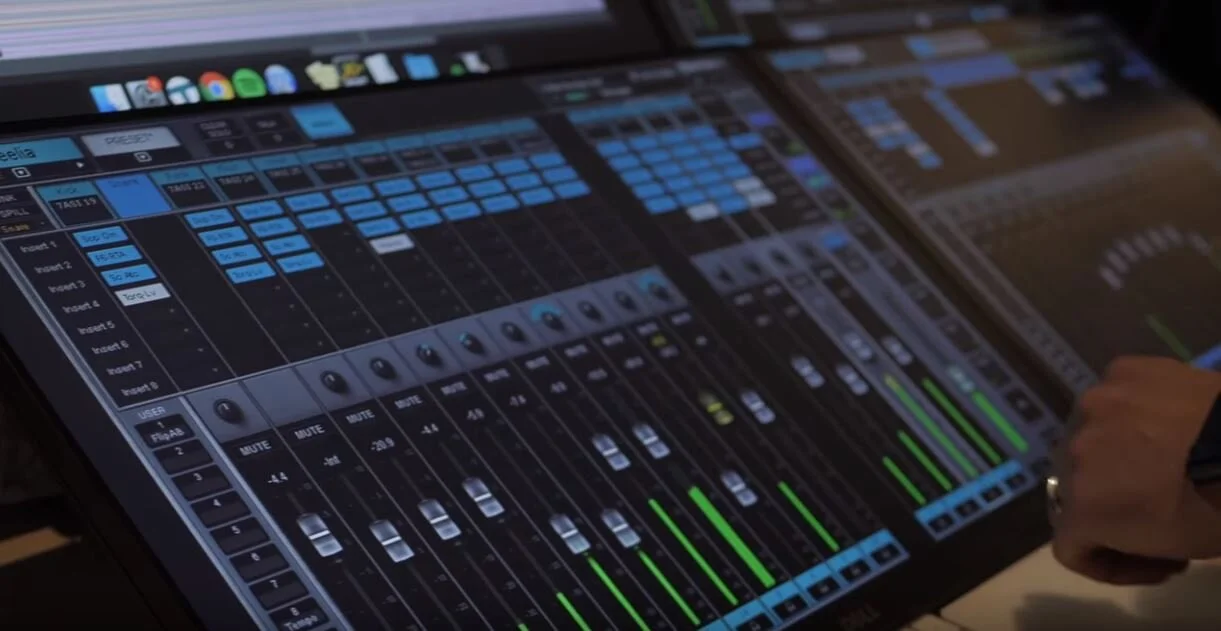
16 inch Macbook Pro running Ableton 10 Standard
This is the central hub for all the tracks The Belonging Co. uses during their worship sets. It runs Ableton 10 standard as the Digital Audio Workstation (DAW), and it generates all the sounds and click tempo that the church and the worship team hear.
The track sessions themselves are built out in an interesting way. Every week begins with a file that holds a “master session” with every single song and every single stem (stems are like each instrument of a song) in one big, long session. From the master session, they then pull out all the songs not needed for a set and keep only the songs they do need. They may also keep a few upbeat songs in case the pastor requests to end on a high note. Then, midi controls are programmed to trigger all of the different elements of the software like starting, stopping, moving to the next song, etc.

This is a very common midi controller device with faders and knobs that can be used to control many different elements of a rig. Notice below that the keys player has their own nanoKontrol as well. For the tracks rig, this nanoKontrol is used to adjust volumes and filters.
It’s a thunderbolt hub. Not much to explain here. It allows everything to connect to the Mac.
- Run 10 outputs, 6 for the tracks

Whenever any sound needs to go from a computer to the mixer, an interface is needed. In this case, The Belonging Co. uses this device to send its sound across multiple channels for ultimate control. This is extreme. Most churches can get away with simple stereo outputs, but more inputs can be helpful for mixing, depending on the complexity.
TouchOSC (on iPad) as a virtual midi controller
Traditional midi controllers like the KORG nonoKontrol help control various elements. However, it can be helpful to design an always-customizable interface to control things as well. This is the power of the app TouchOSC.

The Belonging Co. uses this basic metronome as a backup click in the case that the tracks software glitches or crashes. What’s more impressive is that the crew figured out a way to sample the click sound from Ableton and play it through the DB-90, so the band would have no idea that the click switched from Ableton to the DB-90.
Keys Rig
Hardware
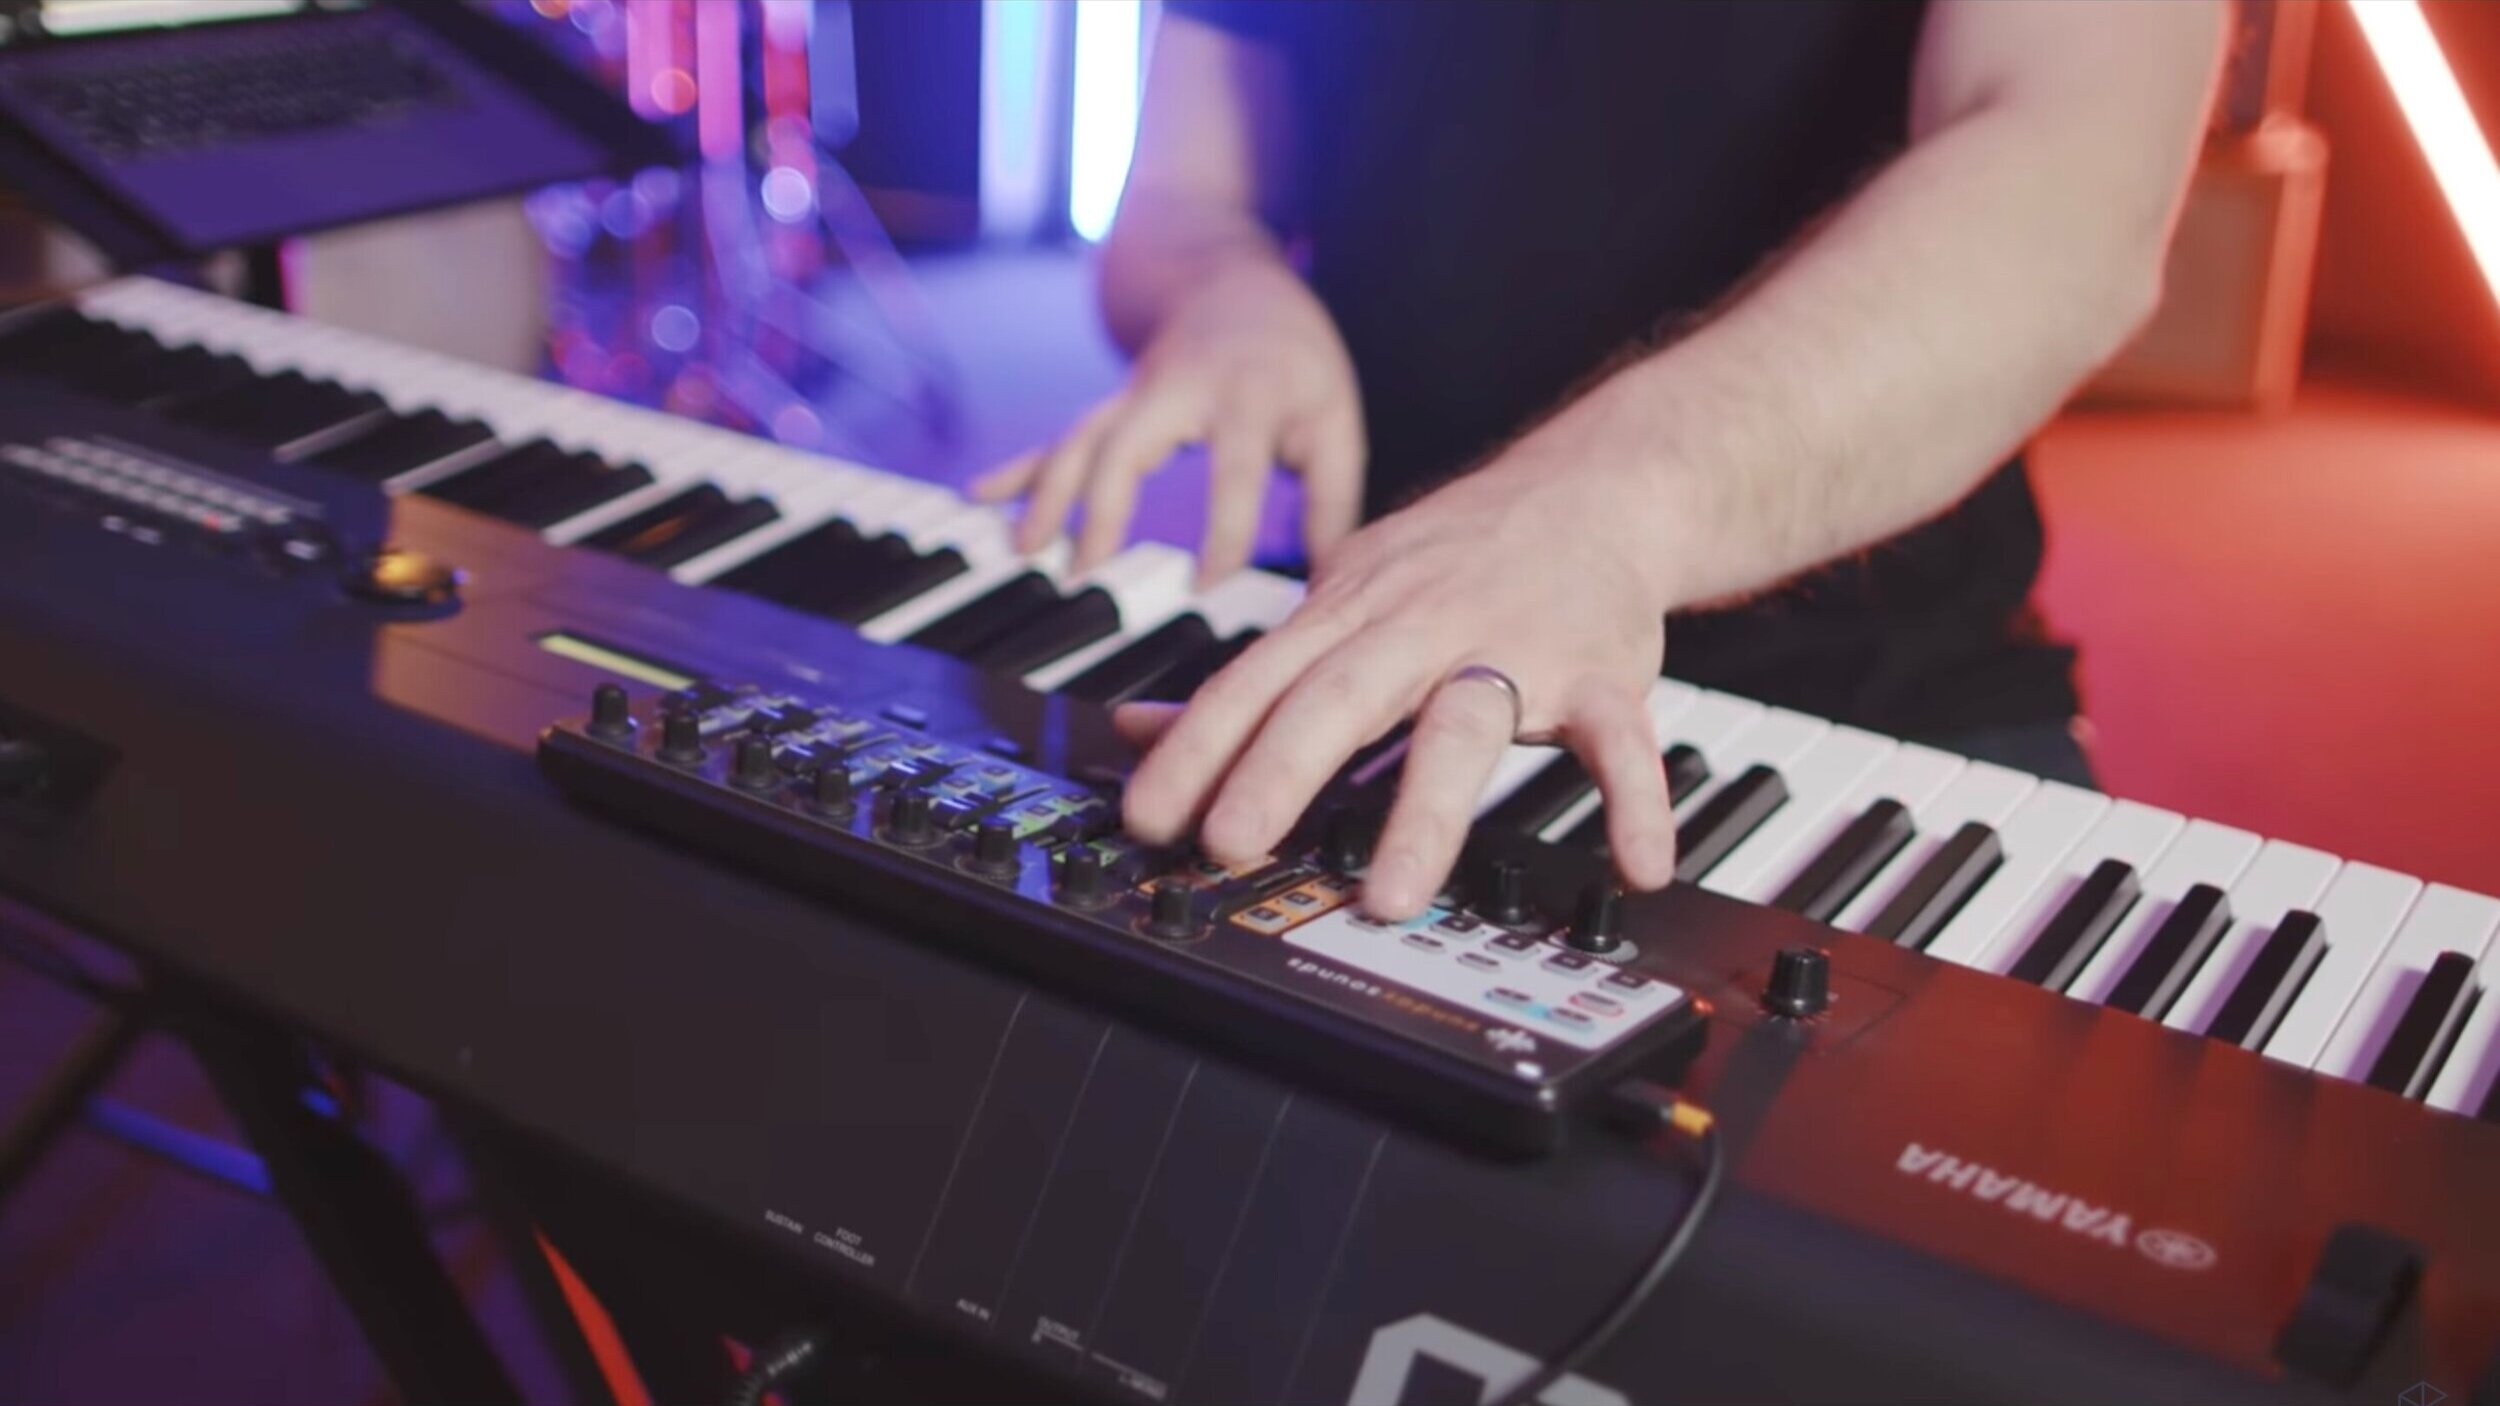
Korg nanoKontrol 2
See above
Focusrite Clarett 8Pre
See above
This device allows an ipad or other midi controller to communicate with multiple computers at the same time.

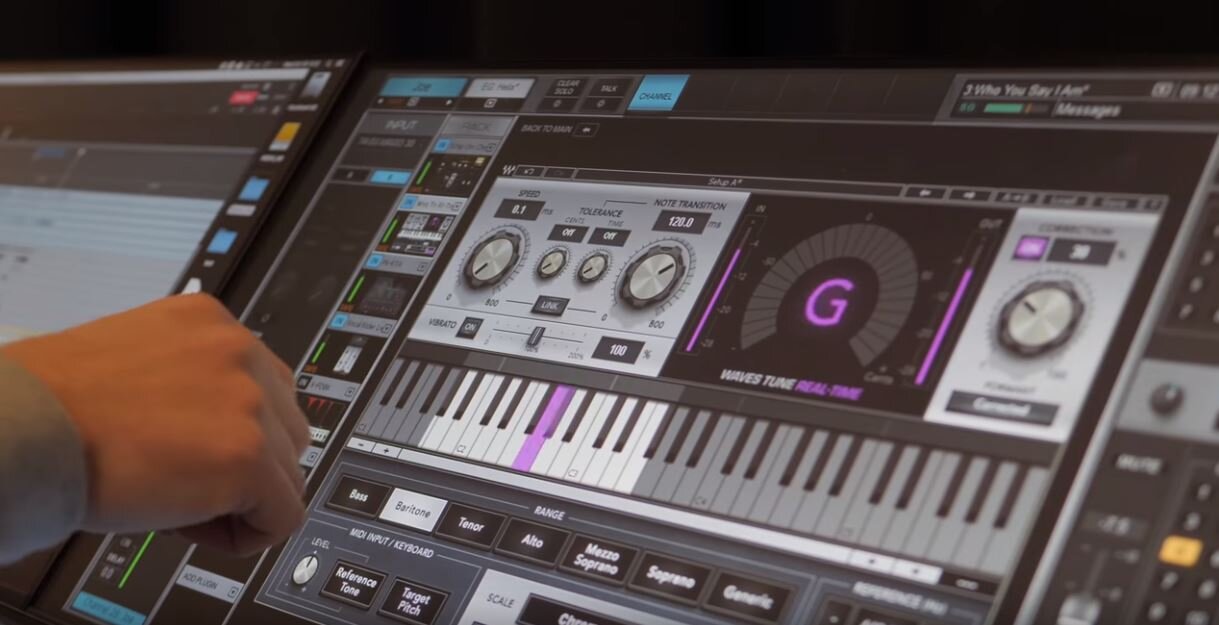
The piano itself is the most important piece of gear in a keys rig. Nord has consistently provided reliable support with the most authentic feel. Even the sounds within the keyboard itself are used, Evan Fernald says, along with patches from the player’s library.
This is what the midi from the Nord Keyboard goes to, where the midi is sent to the broadcast room for ultimate control and editing.
Software
TouchOSC (on iPad) as a virtual mini controller

See above. In addition to being a controller, notes for the music director and details about the flow of the songs are listed here as well.
It turns out that about half of the keys players use Ableton while the other use Mainstage, and this decision is left up to the keys players themselves as they develop their own unique sounds.
We hope this list of gear and links can help point your church in the right direction as you build and improve your keys and tracks rigs! As always, know that the Churchfront team is ready to help with specific needs and training through our Worship Ministry School and other programs. Also, be sure to stay on top of our YouTube and other blog content. We’re here to serve your church.