In today’s post, we’ll be giving you a brief overview of our setup of the Waves eMotion LV1 mixing system. Here’s what we’ll cover:
What you need to get started
Overview
Building Templates and Soundcheck
What You Need to Get Started
Like with any mixing board, whether they’re digital or analog, you’ll need some gear to get started with Waves.
A host computer for the Waves eMotion LV1 software
Physical inputs and outputs for instruments, mics, etc.
Audio interfaces (probably one front of house and one on stage)
Network cables for connectivity
Touchscreens to take full advantage of Waves’ UI
Additional recommended gear
Create a Waves account to get access to all of their plugins
A DAW for recording, playback, and further connectivity
This sounds like a lot, but keep in mind, a lot of these things you should already have if you use a mixing board. All of the I/O’s work the same as they would for any other mixing board, so experienced sound techs shouldn’t have a problem getting setup.
Overview
Similarities to Other Mixing Boards
Because the Waves UI is set up exactly like other mixing boards, anyone with experience as a sound engineer or a tech should be very familiar with Waves. If set up properly, we even think it could be more beginner-friendly for new volunteers than other tools. Since the UI is all virtual, and not analog like the Behringer X32, it can be completely customized to what your team needs, not being constrained by any physical buttons, switches, or sliders.
Going forward from here, you’ll see the real similarities to traditional mixing boards, but also the advantages of using a virtual one like Waves.
Setup Tab
On the setup tab, you can find the inventory page which allows you to view and choose which devices are being used. There’s a place to define the network, sample rate, and see which computers are part of the system. Any mixer or user interface settings can also be changed on this page.
Patches
The patching page is going to be similar to other digital boards, so most functions will be familiar to you. Like other boards, you’ll pick which inputs and outputs go to which inputs and outputs. The great thing about Waves is that you can choose whether a channel is mono or stereo, and still only take up one slider.
Sessions and Scenes
Once you’ve set up your patches, you can start a session. Within each session, you can have multiple ‘scenes’ where pre-set levels are recalled. This is great for whole songs or even parts of songs where the tech needs to change multiple effects at once. For further control and customization, you can make certain effects ‘safe,’ so that they won’t be change when switching through scenes.
Channel Setup and Customization
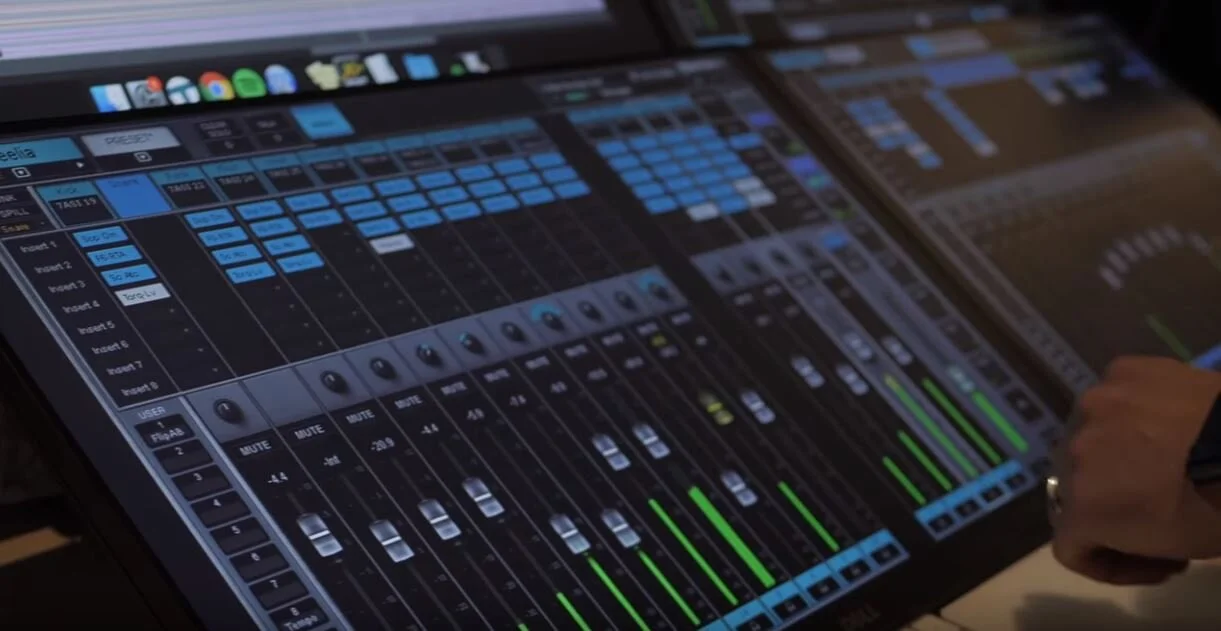
Like with other mixers, Waves allows you to flip through different layers to navigate through channels, groups, AUX’s, etc. Additionally, Waves also allows you to create custom layers to essentially build any setup you want.
There are some obvious traits already in place in the UI, such as the master fader, which is always present on the right-most channel. The left side of the virtual board is where you get some really great customization. You have a number of assignable buttons that can be tied to pretty much any effect or command you like, such as tap tempo, mute, or even recalling scenes.
Shifting through modes, you can flip through different screens to access dynamic EQ, AUX/effects, and routing. Each of these modes gives you the ability to see what’s really happening under the hood, and enables you to customize each aspect of the software.
Channels and Effects
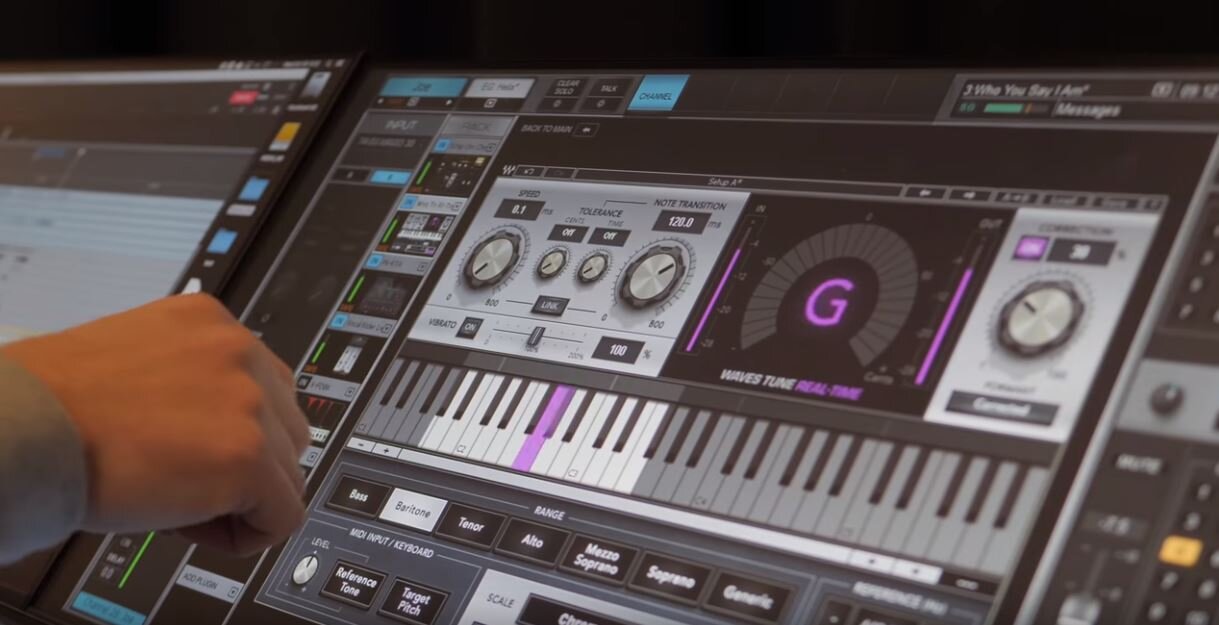
Within each individual channel, you’ll have access to basic effects like EQ and compression--just like any other board. However, Waves allows you to add in up to eight compatible plugins. You’ll be able to change each effect and save your preferences for each channel, giving you a lot of flexibility when you’re building for a set or service.
Building Templates and Soundcheck
Templates
Like with other systems, Waves gives you the ability to create your own templates. Depending on your week-to-week needs for the band and pastor, you can build and save a template so you don’t have to customize Waves for every service each Sunday. Simply call up the template and you’re good to go.
Virtual Soundcheck
One of the great features of Waves is the ability to do a virtual soundcheck. You can record and playback anything you want through your DAW, and any new volunteers can practice mixing and learning queues. You don’t have to have your worship team on-site, or risk bad mixing during service in order to train new members of your team.
Conclusion
Overall, Waves is a great place to start if you want to build a Gospel-centered and tech-savvy worship ministry because it gives you the customizability, ease-of-use, and intuitiveness to craft a strong, seamless service. Check out our 10 tips for better church sound and tips for achieving better mix in worship to round out your experience.
If you want to learn more about how you can grow your worship ministry and work with us, let’s talk. Fill out this contact form and we’ll hop on a call to see what we can work out.


