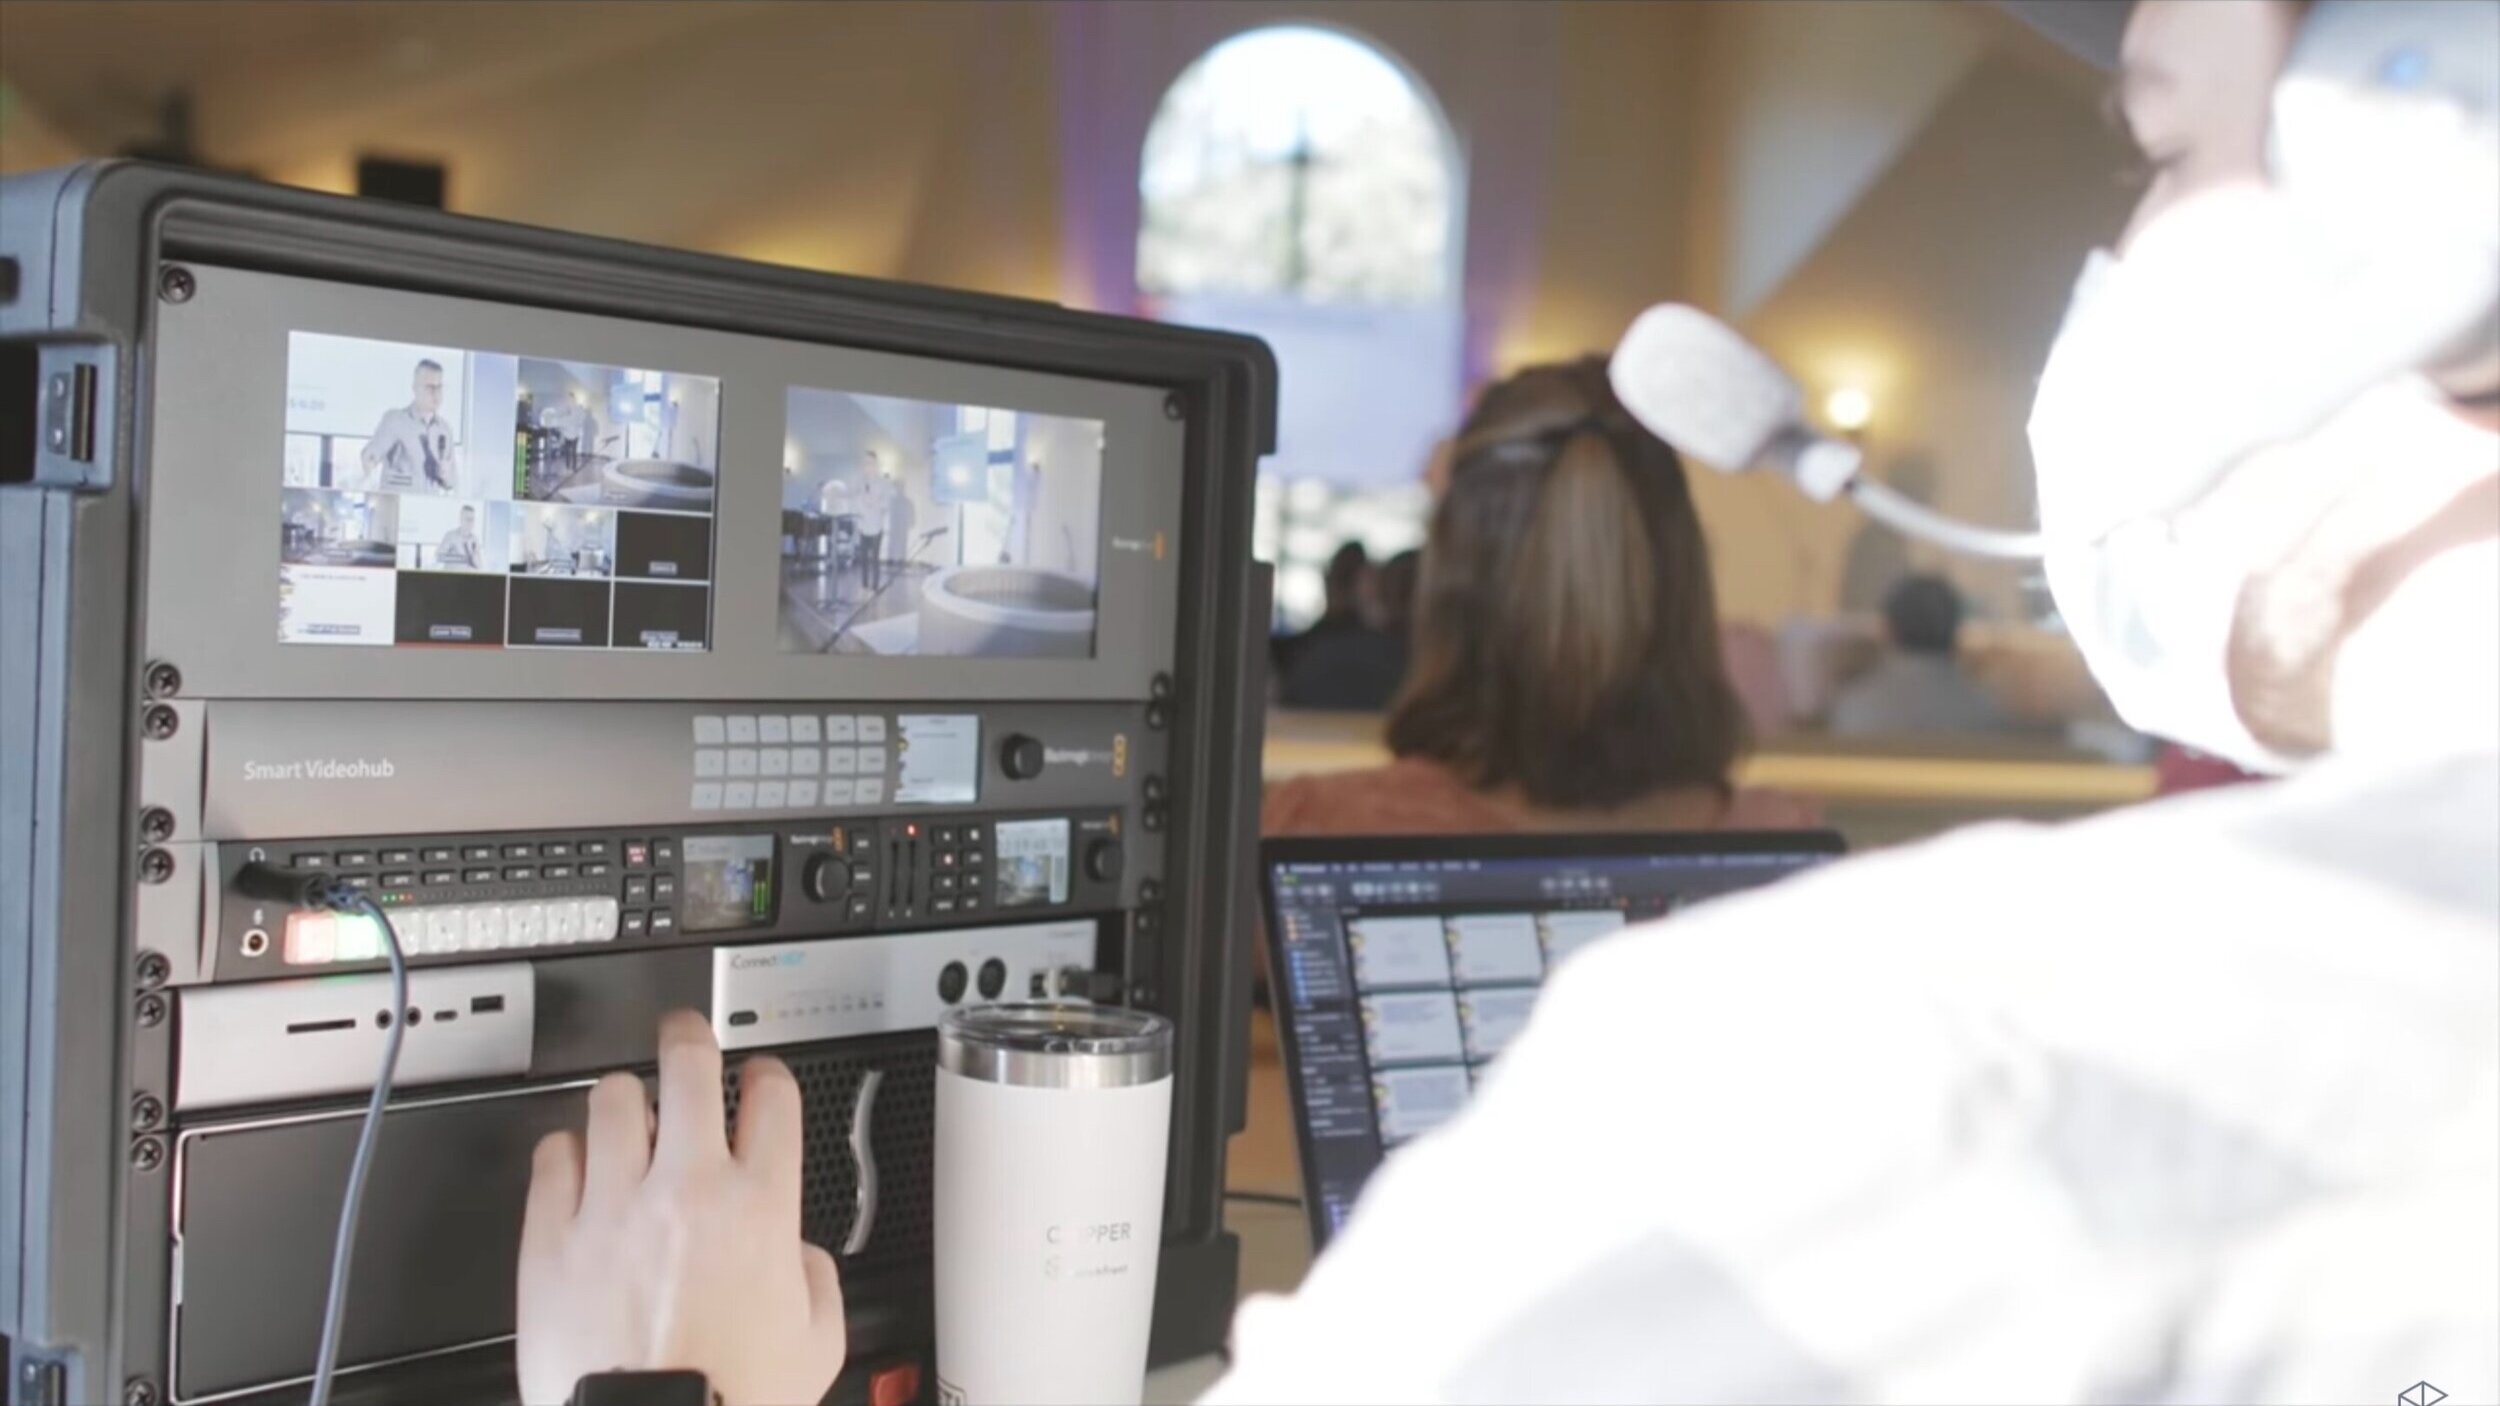
live stream

Best Frame Rates for Church Live Streaming

What frame rate should churches use to live stream worship? 

This is a quick-reference post that will break down Churchfront’s recommendation for live stream frame rates. Desire more thorough instruction for live streaming? Enroll in Churchfront’s Beginner Live Streaming Course.

Unlike those Pinterest recipes that you wish would just cut to the chase and skip all the fluff, let’s jump in. 

The answer: Use 24 frames per second (fps) or 30 fps for live streaming.

Screen Shot 2021-06-21 at 8.17.18 AM.jpg
Screen Shot 2021-06-21 at 8.17.25 AM.jpg

Why two options, and what is the difference between them? The answer has to do with motion blur. 

What is motion blur?

In many cases, amateur videographers look at their camera settings and they think, "higher means better, so I'm going to set my camera frame rate to the highest number at 60 frames per second." The reason you don't want to do this is because of a phenomenon called motion blur.

Stop reading and wave your hand in front of your face. By doing this, notice that your eye actually can’t track your hand. There is a natural “blur” happening. In other words, the eye is not “capturing” fast enough in order to see the hand move with no blur. Controlling the frame rate helps replicate that natural human-eye blur. That’s why 24 fps and 30 fps work best. They mimic the eye. But change the frame rate to 60 fps, and there will be no blur. The image will look unnatural. 

So Churchfront, which option should our church use?

Screen Shot 2021-06-21 at 8.19.39 AM.jpg

We recommend using 24 fps, as it is the cinematic standard, and it especially accentuates the worship music. However, 30 fps can be more pleasing for the preaching portion of a service. 30 fps will look like broadcast TV, while 24 fps will look more like a movie. Both have pros and cons, but both are frame rates that will work well.

What in the world is 23.98 or 29.97 fps? 

Don’t worry about this. If these frame rates are the options the camera offers, consider them the same as 24 fps and 30 fps. There are plenty of YouTube videos to explain, but churches don’t need to understand the difference between 23.98 and 24 fps to live stream their services. 

What about 60 fps?

Use 60 fps if your church wants to get into applying slow-motion effect into the live stream. For one method on how to apply 60 fps to your church’s live stream, view the video above! 

That’s it! 

It’s pretty simple. Choose 24 fps or 30 fps, and be sure to keep these settings consistent among all the church’s hardware. Happy streaming!

5 Broadcast Mixing Accessories for Church Live Streaming

One of the most important elements of worship ministry today is the broadcast mix. Through a church’s broadcast mix, the gospel is shared, God’s Word is preached, and the church is made accessible. But building, running, and accessorizing a broadcast mix station isn’t easy, so that’s where Churchfront is here to help! 

In this post, we’re going to pitch five solid and helpful broadcast mix accessories that will be sure to improve your worship ministry. But if you want in-depth training on how to build and operate your church’s broadcast mix with excellence, check out our Broadcast Mix Mastery course. From Ableton, to using plugins, to running a livestream, we cover it all. So check it out!


First Accessory: Klark Teknik DN9630

Screen Shot 2021-05-22 at 10.28.32 AM.png

A computer running an Ableton broadcast mix needs audio from the mixer, right? Well, running audio over USB more than probably 5 to 10 feet is a bad idea. USB cables start creating issues when they run really long.

Introducing the Klark Teknik DN9630. 

Newcomers to Churchfront will learn quickly that we advocate using a Dante network over AES50 protocol to route audio throughout the room. However, this tool can act as a great stand-in for those who maybe can’t order or access a Dante card at this time. If a church owns a mixer like the Behringer WING, then this is where the three AES50 ethernet ports on the back come in handy. Use the A and B ports for stage audio, and then use the C port for the broadcast mix. Running audio over CAT-5 can span hundreds of feet without connectivity issues.

Second Accessory: The Optogate PB-05

Screen Shot 2021-05-22 at 10.31.03 AM.png

Talkback mics are important. They help volunteers in the back interact with the worship leaders at the front. But isn’t it annoying to hit the talk back button every time you need to talk? 

This is a cool little tool. The Optogate is a noise gate that only opens up via infrared. So put your mouth up to the mic and the infrared red sensor is triggered that opens the gate. Just start talking! Never worry about toggling a button again. 

Third Accessory: touchAble Pro App

Screen Shot 2021-05-22 at 10.34.13 AM.png

This is an accessory for controlling an Ableton broadcast template with an iPad. Purchase it for $15 on the app store, connect it over USB or Wi-Fi to the computer using Ableton, download the desktop app, and touchable will automatically sync with the computer, giving complete control through the iPad.

Screenshot of touchAble Pro on iPad

Screenshot of touchAble Pro on iPad

The visual feedback for the faders is great, even better than the feedback Ableton provides. TouchAble provides audio metering, it matches the color-coding, and you can record and solo channels. It does it all, and it’s always connected. 

Fourth Accessory: Alclair In-Ear Monitors

Screen Shot 2021-05-22 at 10.47.30 AM.png
Jake getting his ears molded for his Spire Six Drivers

Jake getting his ears molded for his Spire Six Drivers

A recent video highlighted Jake upgrading his headphones when he stopped by Alclair. Jake ordered six driver headphones, the Spire Six Drivers, to be exact. They go for $849 here on Alcair's website. Jake was blown away by the difference from his RSM Quad Drivers to these headphones. He could hear the highs and lows so much better. 

The RSM Quad Drivers are great. But if you have the money, we would recommend these Six Drivers over the Four Drivers. The difference is significant, especially when comparing between two custom sets. These are very important tools for a Broadcast Mix because hearing everything that’s going on is crucial. The mix also has to be very isolated, excluding any room noise bleeding in to the mix. This is where the Six Drivers shine.

Fifth Accessory: Elgato Stream Deck

Screen Shot 2021-05-22 at 10.39.12 AM.png

The magic of a Stream Deck is that settings can be changed within different applications at different stations with just the push of a button. It uses MIDI commands through a native Stream Deck app and toggles functions of other apps/devices. Whether it’s muting/unmuting, mimicking keyboard commands, or other commands, the Stream Deck removes the pain of pointing your cursor to click on things. It saves time. It makes things simple.

It has things clearly labeled, and it provides great visual feedback. Most of all, the amount of errors that a tech team could make.

There you have it!

We hope these accessories can be a blessing and improvement to your worship ministry and broadcast mix. Again, be sure to check out our Broadcast Mix Mastery Course if you or your team desire more training in all things broadcast mix and live-streaming. Happy mixing!

Seven Tips to Improve Your Worship Broadcast Mix

Be sure to check out Churchfront’s Broadcast Mix Mastery online course if you desire a better live stream mix for your church. This is a great course for beginners who are new to mixing in a digital audio workstation like Ableton Live.


Looking to achieve a professional broadcast mix for your worship ministry? This post will cover strategies that make the most significant improvements in the sound of any worship band, even if a church has a modest budget. 

Here are seven ways to improve the audio mix of any church live stream. 

Before we get going

So much of the proof of this post is packed into the YouTube video above, where Jake walks through each step with helpful in-depth examples, so do not finish this post without watching these tips in action! 

Let's dive in.

Tip #1: Reduce Cymbal Bleed

This first tip has nothing to do with mixing on a console or processing audio. Instead, it has to do with stage volume and getting a clean signal in the first place. One of the biggest challenges of multi-track recording and streaming a worship band is dealing with lots of stage volume. The most common issue is cymbals from the drum set bleeding into vocal microphones. Next time there’s a chance to listen back to a multi-track recording of the worship band, solo the vocal mics and listen for how much cymbals are bleeding into the lead vocals. Often, the high-hat is the worst culprit of all the cymbals. For example, when a vocal mic picks up the cymbals, EQ and compression only make the cymbals more pronounced. The result is that it’s nearly impossible to fix this problem in post-production. 

There are multiple solutions for reducing cymbal bleed. First, tell the drummer to stop hitting the high hat and cymbals so dang hard. That's a way to solve this problem without having to purchase any additional gear. Next, consider purchasing some plexiglass drum baffles or full-on shields. Another option is to implement full drum isolation to completely eliminate the problem of cymbal bleed. 

This problem is so common in small to midsize churches because their stages are so small. Churches with larger stages often get away with no drum shield or baffles because bleed won't be that much of a problem.

Tip #2: Get the Gain Staging Right

Make sure the gain is set up properly on the mixing console or stage box preamps. This is an important principle to follow for any situation, be it a live or broadcast mix. Mixing in a DAW like Ableton Live provides the flexibility to boost or cut gain, but this has no effect on the actual pre-amp. It's merely a digital trend being applied within the DAW. The best rule of thumb is to have gain metering around a -12 on average, and then peaking no higher than -6 decibels. If there’s not enough gain, the result is to crank up the digital gain in Ableton, and that will introduce noise. And if the gain is too high, it's going to clip and distort.

For a demonstration, watch the video above.

Tip #3: Use a Digital Audio Workstation (DAW) to mix your live stream

Churchfront’s favorite digital audio workstation is Ableton Live. It's cross-platform, CPU-efficient, runs any third-party plugins, and it can also be used for a variety of other purposes in your worship ministry like a keyboard or a tracks rig.

Many churches purchase a second mixing console for their broadcast mix. Do not make that expensive mistake. This route costs way more than mixing in a DAW, and it rarely sounds better. A DAW like Abeleton live can be scaled to the size of any worship ministry, and a DAW never runs out of tracks. Plus, DAWs provide way more processing and plugins to create an amazing mix.

To get up and running with a DAW, it is as easy as grabbing a USB cable, purchasing a DAW like Ableton Live (Pro Tools or Logic are great choices, too), installing that DAW on a computer (which is probably in the tech booth already), and connecting the mixing console to the DAW. From here, the audio volunteer can mix the audio through Ableton and send that final mix to streaming software or a video switcher. This also opens a worship ministry up to multi-track recording, which allows easy mixing in post-production. 

Tip #4: Use Vocal Tuning

For worship leaders in the room: Ever cringe listening back to recordings of yourself leading worship? It's probably because you didn't use live vocal tuning. 

waves.jpg

Churchfront’s recommended plugin for this is Waves Tune Real-Time. It's less than $100 for this plugin and you can install it in Ableton Live within minutes. 

Here’s how this plugin works. Drop the plugin on an individual vocal track, and in real time it will make adjustments to the singer’s pitch to ensure their voice is tuned perfectly. Of course, this plugin really only works for bringing vocals that are 97% in tune to 100% in tune. It can’t fix bad singing. Vocalists still need to know what they're doing and they still need to have a good in-ear mix. But even notes that are slightly out of tune will make a church cringe and distract from worship, so this is an easy, helpful step. Vocal tuning can eliminate distraction.

For a demonstration, watch the video above.

Tip #5: Drum Replacement

Of all the instruments, acoustic drums are the hardest to perfectly process for a church’s mix. That's where the drum replacement hack comes in handy. 

The plugin Churchfront recommends is Trigger 2 by Steven Slate. It's another third-party plugin that provides massive value for the price of $149. This plugin removes so much room for error when it comes to dialing in a consistent and pristine drum sound. 

Trigger 2.jpg

Most worship ministries don't have acoustic kicks that sound amazing on their own, and it's hard to mic and tune these drums. Just use drum replacement. It's going to sound amazing instantly.

For a demonstration, watch the video above.

Tip #6: More Reverb

While reverb can definitely be overdone in a broadcast mix, most people tend to underutilize it. If reverb isn’t used, vocals, drums, or acoustic guitars end up sounding very dry and those listening online has no sense of space. So don't be afraid to apply more reverb than what the church is used to in the live mix. 

Remember that people inside the church building are hearing the natural reverberations of the room. Hence, there’s no need to apply as much verb in a live context. 

For a demonstration, watch the video above.

Tip #7: Compression

Just like reverb, compression can be overdone. But in most cases, church live streams hardly utilize any compression at all. Not using compression causes vocals and other instruments to have a wide dynamic range, resulting in a sound that’s not smooth at all. When singers are quiet, like when they trail off at the end of a phrase, they’re barely heard. And when they sing  loud, their voices overpower everything else. Compression works wonders on vocals.

For a demonstration, watch the video above.


This completes our list of seven tips to enhance worship broadcast mixes. We hope your worship ministry will be served by it! 


Don’t forget to check out Churchfront’s Broadcast Mix Mastery online course. This course is great for absolute beginners who are new to mixing in a DAW like Ableton Live. It's comprehensive and covers every crucial step for getting started. 

How to Setup Live Streaming for Churches in 2021

In this article, you will be equipped to build a simple, yet professional, live streaming setup for your church. 

 Here’s what will be covered:

  • The Big Picture

  •  Video Capture | How to utilize up to four live action cameras 

  • Audio Capture | How to capture a high-quality mix from a church’s sound console

  • ProPresenter | How to overlay lyrics and graphics

  • Multi-Streaming Services | How to send streams to Facebook, YouTube, Church Online, and a church’s website

  • What to Budget


Before We Begin

A key counterpart to this post is the Worship Ministry Toolkit. Drop everything and download it now! Everything covered in this video is even devoted to a separate page, so the equipment recommended here is easily accessible. 

Need an in-depth and thorough guide to set up this entire live streaming system at your church? Enroll in our Beginner's Guide to Live Streaming for Churches online course. This course has already helped hundreds of churches build a cost effective yet professional live streaming setup. This course provides detailed guides for live streaming, copyright law, improving video setup, understanding ProPresenter to its fullest potential, and creating an amazing audio mix. All of this and more is covered, so enroll today! 

 The Big Picture

Screen%2BShot%2B2021-03-29%2Bat%2B8.04.04%2BAM.jpg

Here's the big picture of the system this article will cover. The Churchfront team has consulted with hundreds of churches over the past year, helping them build custom live streaming solutions for worship ministry. For the vast majority of churches, here are the essential elements needed to create a high-quality stream. 

First, acquire two to four live-action video cameras. 

Second, know how to capture a high-quality audio mix. 

Third, enable lower third lyrics and other graphics or media playback capability. 

And fourth, distribute the live stream to multiple social media platforms and the church's website simultaneously. 

If a church’s system meets these four criteria, that church will be on their way to creating a great experience for its congregation online.

Something to Consider

There are countless ways to accomplish the four steps listed here, but not all lead to a healthy live stream setup. There are so many options for cameras, video switchers, presentation software, streaming software, encoding and multi-streaming platform. It doesn’t take long to seem really overwhelming. Because of this, I've seen so many churches waste a ton of money on the wrong tools. They build a streaming solution that doesn't actually integrate well specifically for a worship ministry environment. Despite all the money they spend on gear or software, their live stream still sounds and looks like garbage. So the recommendations here will save you a ton of time and headache. There’s no need to make your own road. Follow this system. It works! 

Video Capture

The first key to a great livestream setup is to capture two to four angles of live-action video. A minimum of two angles provides a close follow shot for pastors or worship leaders while providing a wide shot to capture the entire stage or room. The second camera also provides a safe shot to switch to, if needed. A third or fourth camera could capture different perspectives from the stage, like a close up on a pianist or drummer. 

There are so many fantastic cameras available today. But in order to build a system at the cost of around $1,000 per camera and lens package, then the Sony A6400 and the Sony E-mount lenses are the cameras to purchase. In order to achieve high quality video, consider looking for a larger camera sensor and better lens optics than what can be found with most camcorders or PTZ cameras.

Screen+Shot+2021-03-29+at+8.04.37+AM.jpg

When it comes to camera sensors, it is best to look for cameras with sensors that have a micro four thirds sensor or an APS-C sensor. A camera with a 35-millimeter sensor or a full frame video camera produces the best results in low light. Since most churches operate in lower light settings, these options can be helpful. The Sony cameras have an APS-C sensor. They’re small, and they’re budget friendly.

Screen Shot 2021-04-02 at 7.10.18 AM.jpg
Screen+Shot+2021-04-02+at+7.10.37+AM.jpg
Screen+Shot+2021-04-02+at+7.10.49+AM.jpg

For test footage of the Sony A6400 in action, check out the YouTube video above. Notice the lack of noise in the image. Sony cameras provide amazing auto focus tracking so the subject will always be sharp in the picture. They also perform great in wide-angle shots. And, important for live streaming, these cameras have a micro-HDMI port that sends a clean video signal to a video switcher, which is the next piece of recommended hardware.

Screen+Shot+2021-04-02+at+7.37.38+AM.jpg

The ATEM Mini Pro is the next recommended piece of video gear. The ATEM Mini has four HDMI inputs, so it can utilize up to four live-action cameras with this switcher. Plug the ATEM into a computer, and it will show up as a single camera source. Instead of managing four different video feeds in a computer, live-action video will be cut by the ATEM switcher down into one single video feed that will feed directly into the streaming software. This reduces the video processing load on the computer. The ATEM Mini Pro also has an HDMI multi-view output, allowing a preview all of the camera angles before switching cameras in a live stream.

To save a few bucks on a video switcher, it’s possible to use the base model ATEM Mini, but keep in mind that it does not have a multi-view output. This could pose a problem for churches with multiple cameras. If it’s not possible to preview the various cameras in the room, the quality of the live stream could suffer. 

Audio Capture

One of the most difficult hurdles for church live streaming is mixing down the worship band. The efficient way to capture and mix clear audio for a stream is to create a post-fader mix bus that will mimic the master mix that for the in-person congregation.

Here is what happens if a post-fader mix bus is created. If a channel is muted in the house mix, it'll be muted in a live stream. Likewise, if a fader is adjusted for the house mix, it's going to be adjusted for the live stream. If the mixer is in the same tech booth as the streaming computer, simply plug the mixer into the computer via a USB cable and it becomes an audio device for the computer. That live stream mix bus will then be routed to the desired USB output channel, where the audio can be captured in the live streaming software. 


For those who use an analog mixing console

Here is the best advice for churches still running an analog sound console: upgrade to digital as soon as possible. That should be the top priority for any tech upgrades a church makes. It's going to be the best bang for any church’s buck for both in-person and online audio. 

For a short-term solution, churches with analog consoles need to get an audio interface to convert the analog sound to digital for the live streaming software. To do this, pull an auxiliary stereo audio feed out of the back of the console and plug the quarter inch or XLR cables into a two-channel audio interface. This will plug into the streaming computer via USB.

Screen+Shot+2021-04-02+at+7.50.47+AM.jpg

Here are some tips to improve an audio mix for live stream.

  1. Have a solid in-person mix built on proper gain staging and channel processing. 

    • Ninety-nine percent of the issues heard on live streams can usually be solved with proper sound reinforcement in getting a good source tone.

  2. Boost or cut the levels of individual channels

    • Even though the live stream comes from a post-fader mix on the console, it’s still possible to boost or cut the levels of individual channels in the live stream independent of what's being sent to the house PA. Depending on the mixer design, find the sends page for the desired channel and adjust the levels accordingly. This provides the ability to boost or cut that channel's send to the live stream mix bus.

  3. Add more reverb to the live stream mix than what is in the room.

    • People online will need to hear that additional sense of space since they're not hearing the natural reverb of the sanctuary or worship center. It's going to sound really dry and almost dead to viewers when they hear vocals or instruments when there is no sense of space along with them.

  4. Apply a compressor to the live stream mix bus.

    • A compressor in this way helps the stream sound loud and consistent. 

  5. If possible, consider sending multi-track audio from the digital mixer into a digital audio workstation or DAW like Ableton Live Pro Tools or Logic Pro.

    • This provides unlimited plugins and mastering tools to help a mix sound professional. This is the same method used by churches like Bethel and Life Church, and it's surprisingly easy to implement in smaller church environments. But keep in mind that it is a great practice for all churches to have a solid live stream mix bus set up on their consoles, even if they are usually mixing in a box. This provides a backup mix in case the DAW or software glitches. 

Screen+Shot+2021-04-02+at+7.49.31+AM.jpg


PROPRESENTER

When ProPresenter 7 came in early 2020, it brought so many amazing upgrades to the software that now ProPresenter 7 is Churchfront’s recommended presentation software for our clients in worship ministry school. 

Screen+Shot+2021-03-29+at+8.08.01+AM.jpg

Before ProPresenter released its streaming feature, streaming applications like Ecamm Live or vMix or OBS were needed tools. Graphics from ProPresenter went to streaming software like Ecamm, vMix or OBS, then those graphics would be laid on top of the live-action video. On top of that, audio feeds still had to be monitored. But now, live-action footage and audio can be sent directly into ProPresenter. Simply overlay lower thirds lyrics, scripture, and any other graphics directly into ProPresenter, and send the final live streaming video feed to social platforms or multi-streaming services directly from ProPresenter. 

To see a basic overview of how ProPresenter does this, check out the YouTube video above and be sure to enroll in our Beginners to Live Streaming for Churches course

Multi-Streaming Services

ProPresenter completes the final stages of bringing together video and audio sources, compressing them down into a final product that can be delivered to online audiences. But how should the final product be delivered? 

We recommend using a multi streaming service like Restream or Resi. Restream or Resi allows churches send live streams to multiple destinations at once. This a must-have feature to allow congregations to watch streams on their preferred platform, whether it's Facebook, YouTube or Church Online. 

Restream is the budget friendly, multi-streaming service costing around $40 per month. 

Resi plans start at $69 per month. But most churches will need the starter web plan at $139 per month. Resi is considered the premium route, offering a resilient streaming protocol. In a nutshell, this means that with Resi, a church’s stream will never experience buffering even with a momentary lapse in internet connection. A church using Resi could lose internet for multiple seconds or even up to a minute, yet their online audience won't notice any interruptions or buffering. This happens because Resi delays the stream in their cloud by about two minutes before distributing the video to the various social platforms.

Resi is going to cost more, but direct integration with ProPresenter and a resilient streaming protocol provides a tight, reliable stream. ProPresenter can easily stream to Restream via Restream's RTMP server. Once a Restream account is created, simply copy and paste the RTMP URL and key into ProPresenter, and the stream will be ready to go live. 

Once the live stream is online using one of these methods, consider using the free Church Online platform by Life Church.

Church Online is a free website builder that allows churches to host live streams with a better user experience, chat, and prayer functionality. The Church Online platform can provide a distraction free environment for a church's live stream. Social media platforms are designed to keep users scrolling through content and scrolling through the newsfeed. This can create short retention times from viewers on Facebook or YouTube.

Driving people to a platform like Church Online taps into the space where people are already hanging out while keeping them undistracted. It is a great way for new people to discover a church. That's why Churchfront recommends leveraging the Church Online platform as one more place to host a stream for people who do not have social media accounts yet desire to experience a church’s live stream.

Budget

Let's talk about budget. It's one of the most important determining factors for a church's live streaming setup. The system recommended in this post will cost just under $3,000 for two live-action cameras, a video switcher and all the accessories a church needs for the video capture portion. Most churches already use ProPresenter and a digital mixing console. If a church is using an analog console, an audio interface will cost $100. Finally, the multi-streaming services recommended will cost either $40 a month or a $140 a month, depending on the provider. 


That’s it, the ultimate guide to church live streaming for 2021! 


Remember to download the Worship Ministry Toolkit for a convenient list of all the gear and software mentioned in this article and enroll in the Beginner’s Guide to Live Streaming for Churches for more in-depth guidance. And don’t forget to subscribe to Churchfront’s YouTube channel to be equipped with all the latest content.