mixing

How to Setup Vocal Mics | Best Microphone, Gain, EQ, Compression, and Effects

When thinking about leading Worship, there is literally no leading happening without vocalists being heard clearly. Although it may seem the solution is to plug in any old mic and turn up the gain, there is more to it than that. Churches who want to improve their vocal microphone setup should dig into this post and the video above. 

This post is going to provide a walkthrough of Jake’s vocal microphone setup he is using at his church. Here’s the roadmap. 

Hardware

Microphone: Telefunken M80

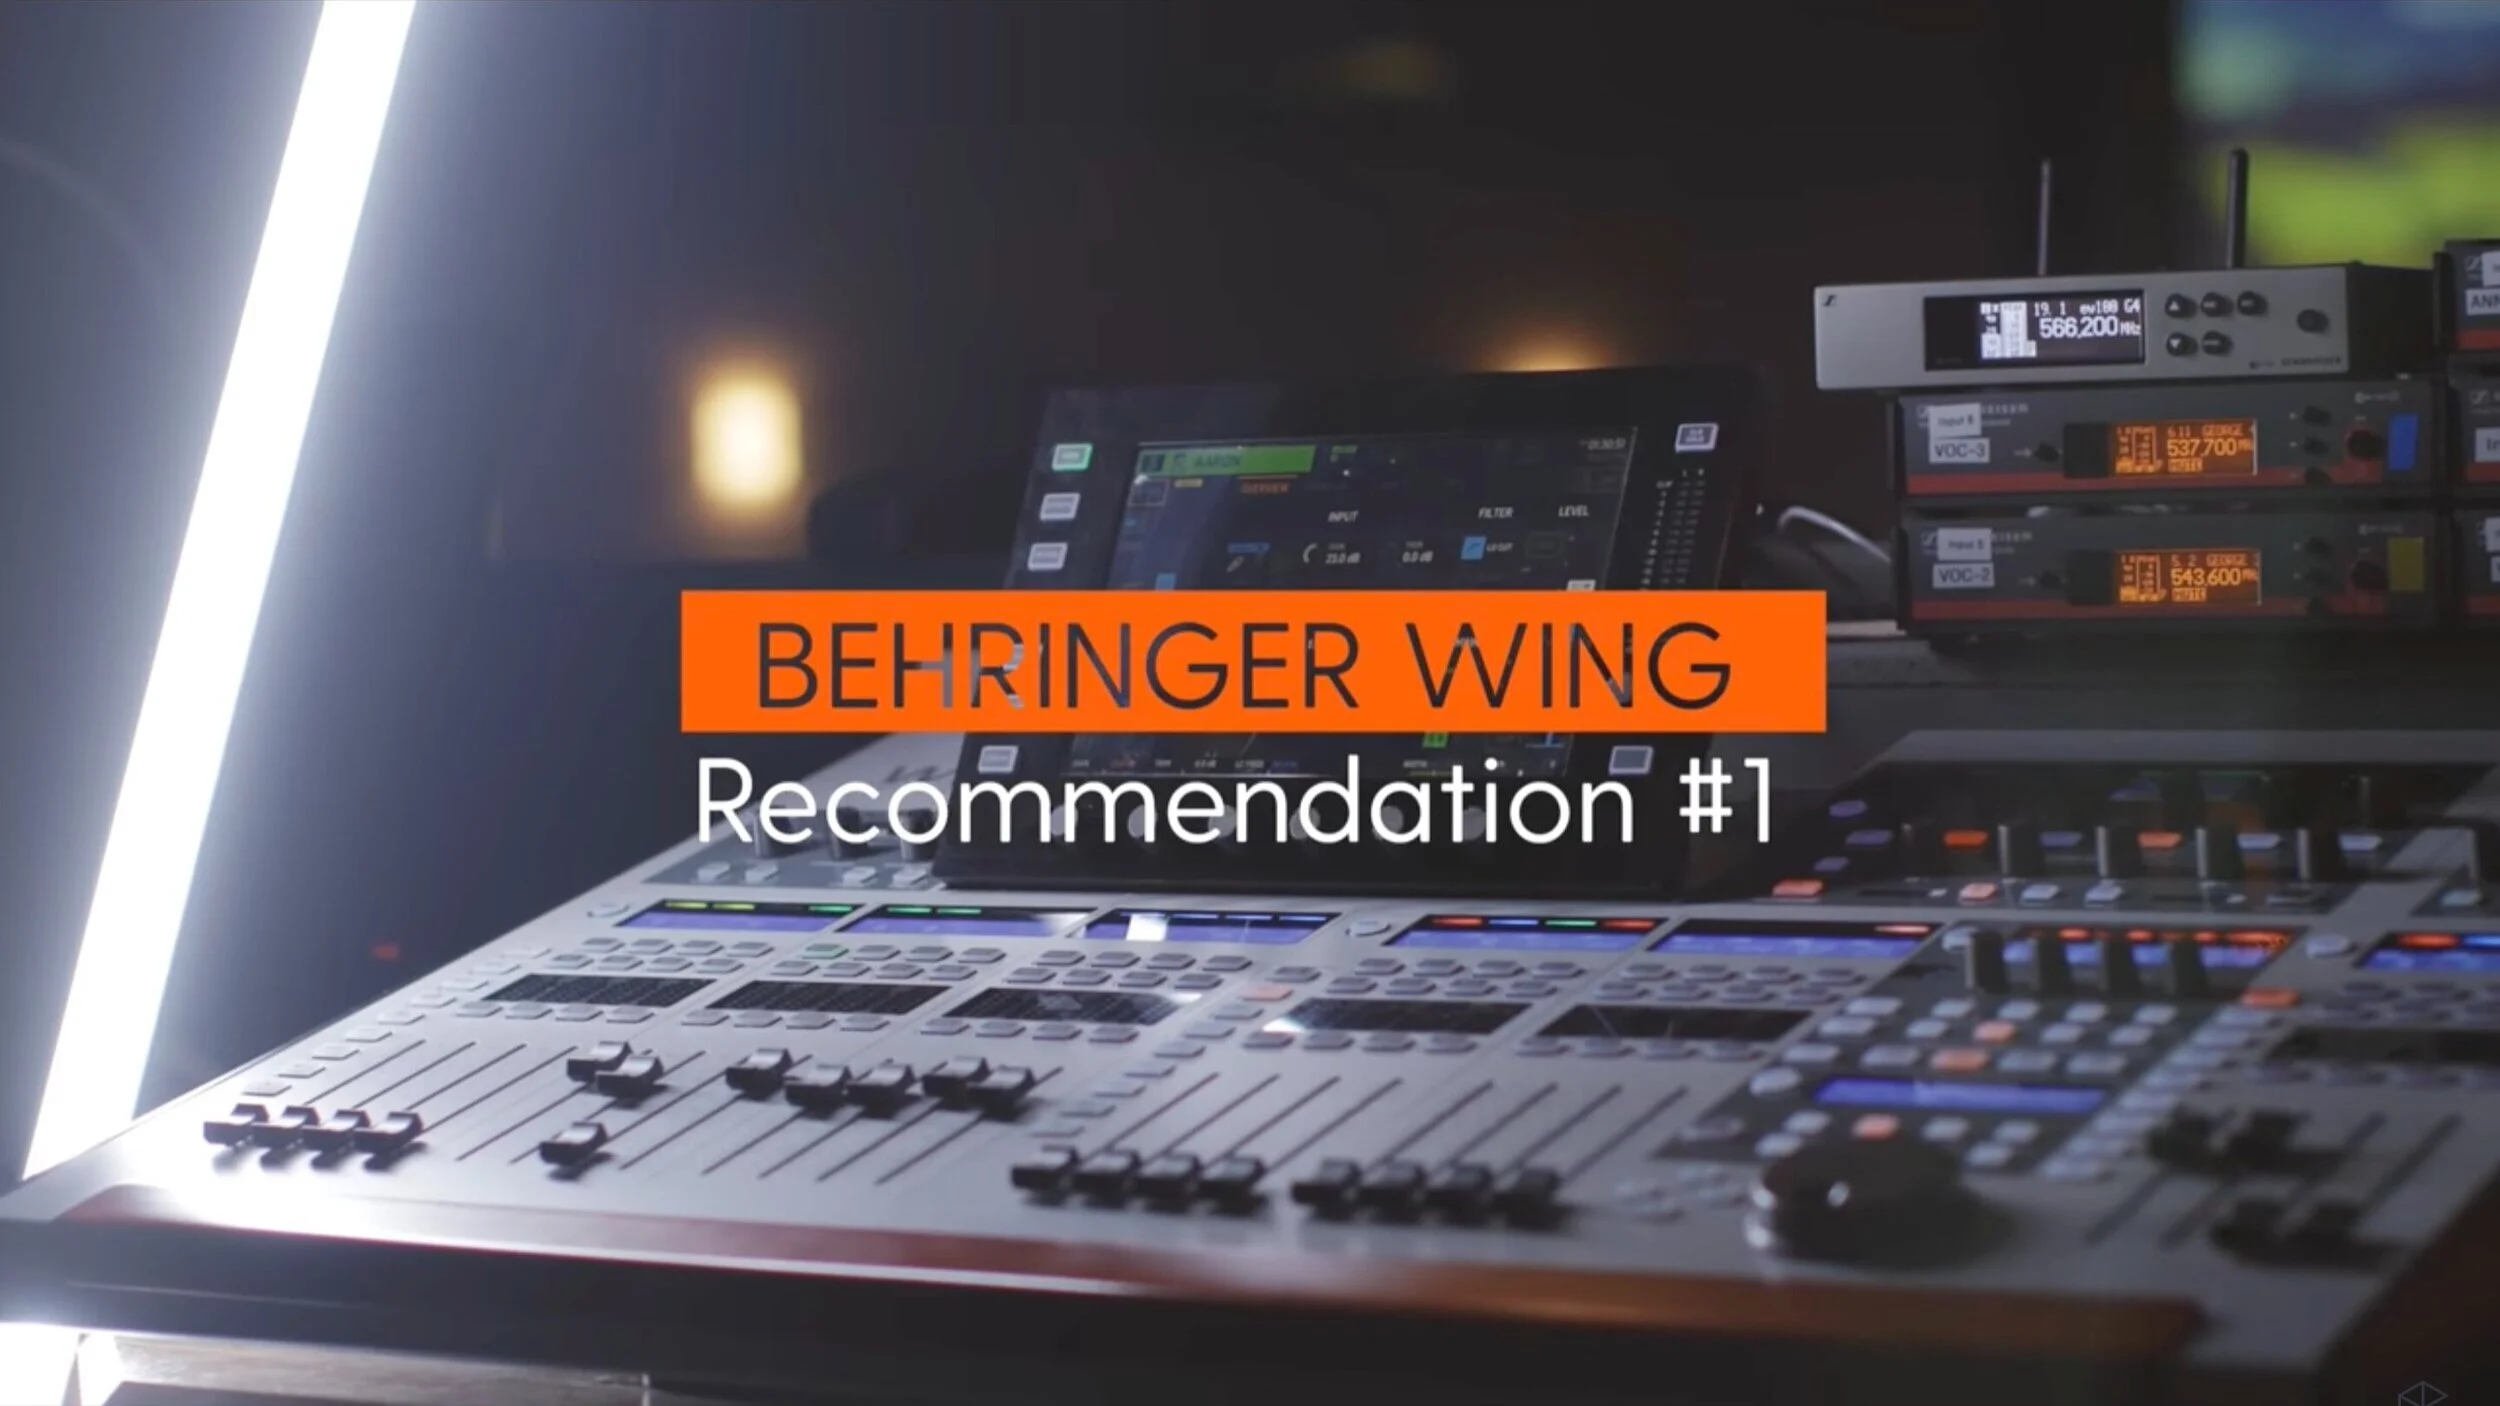
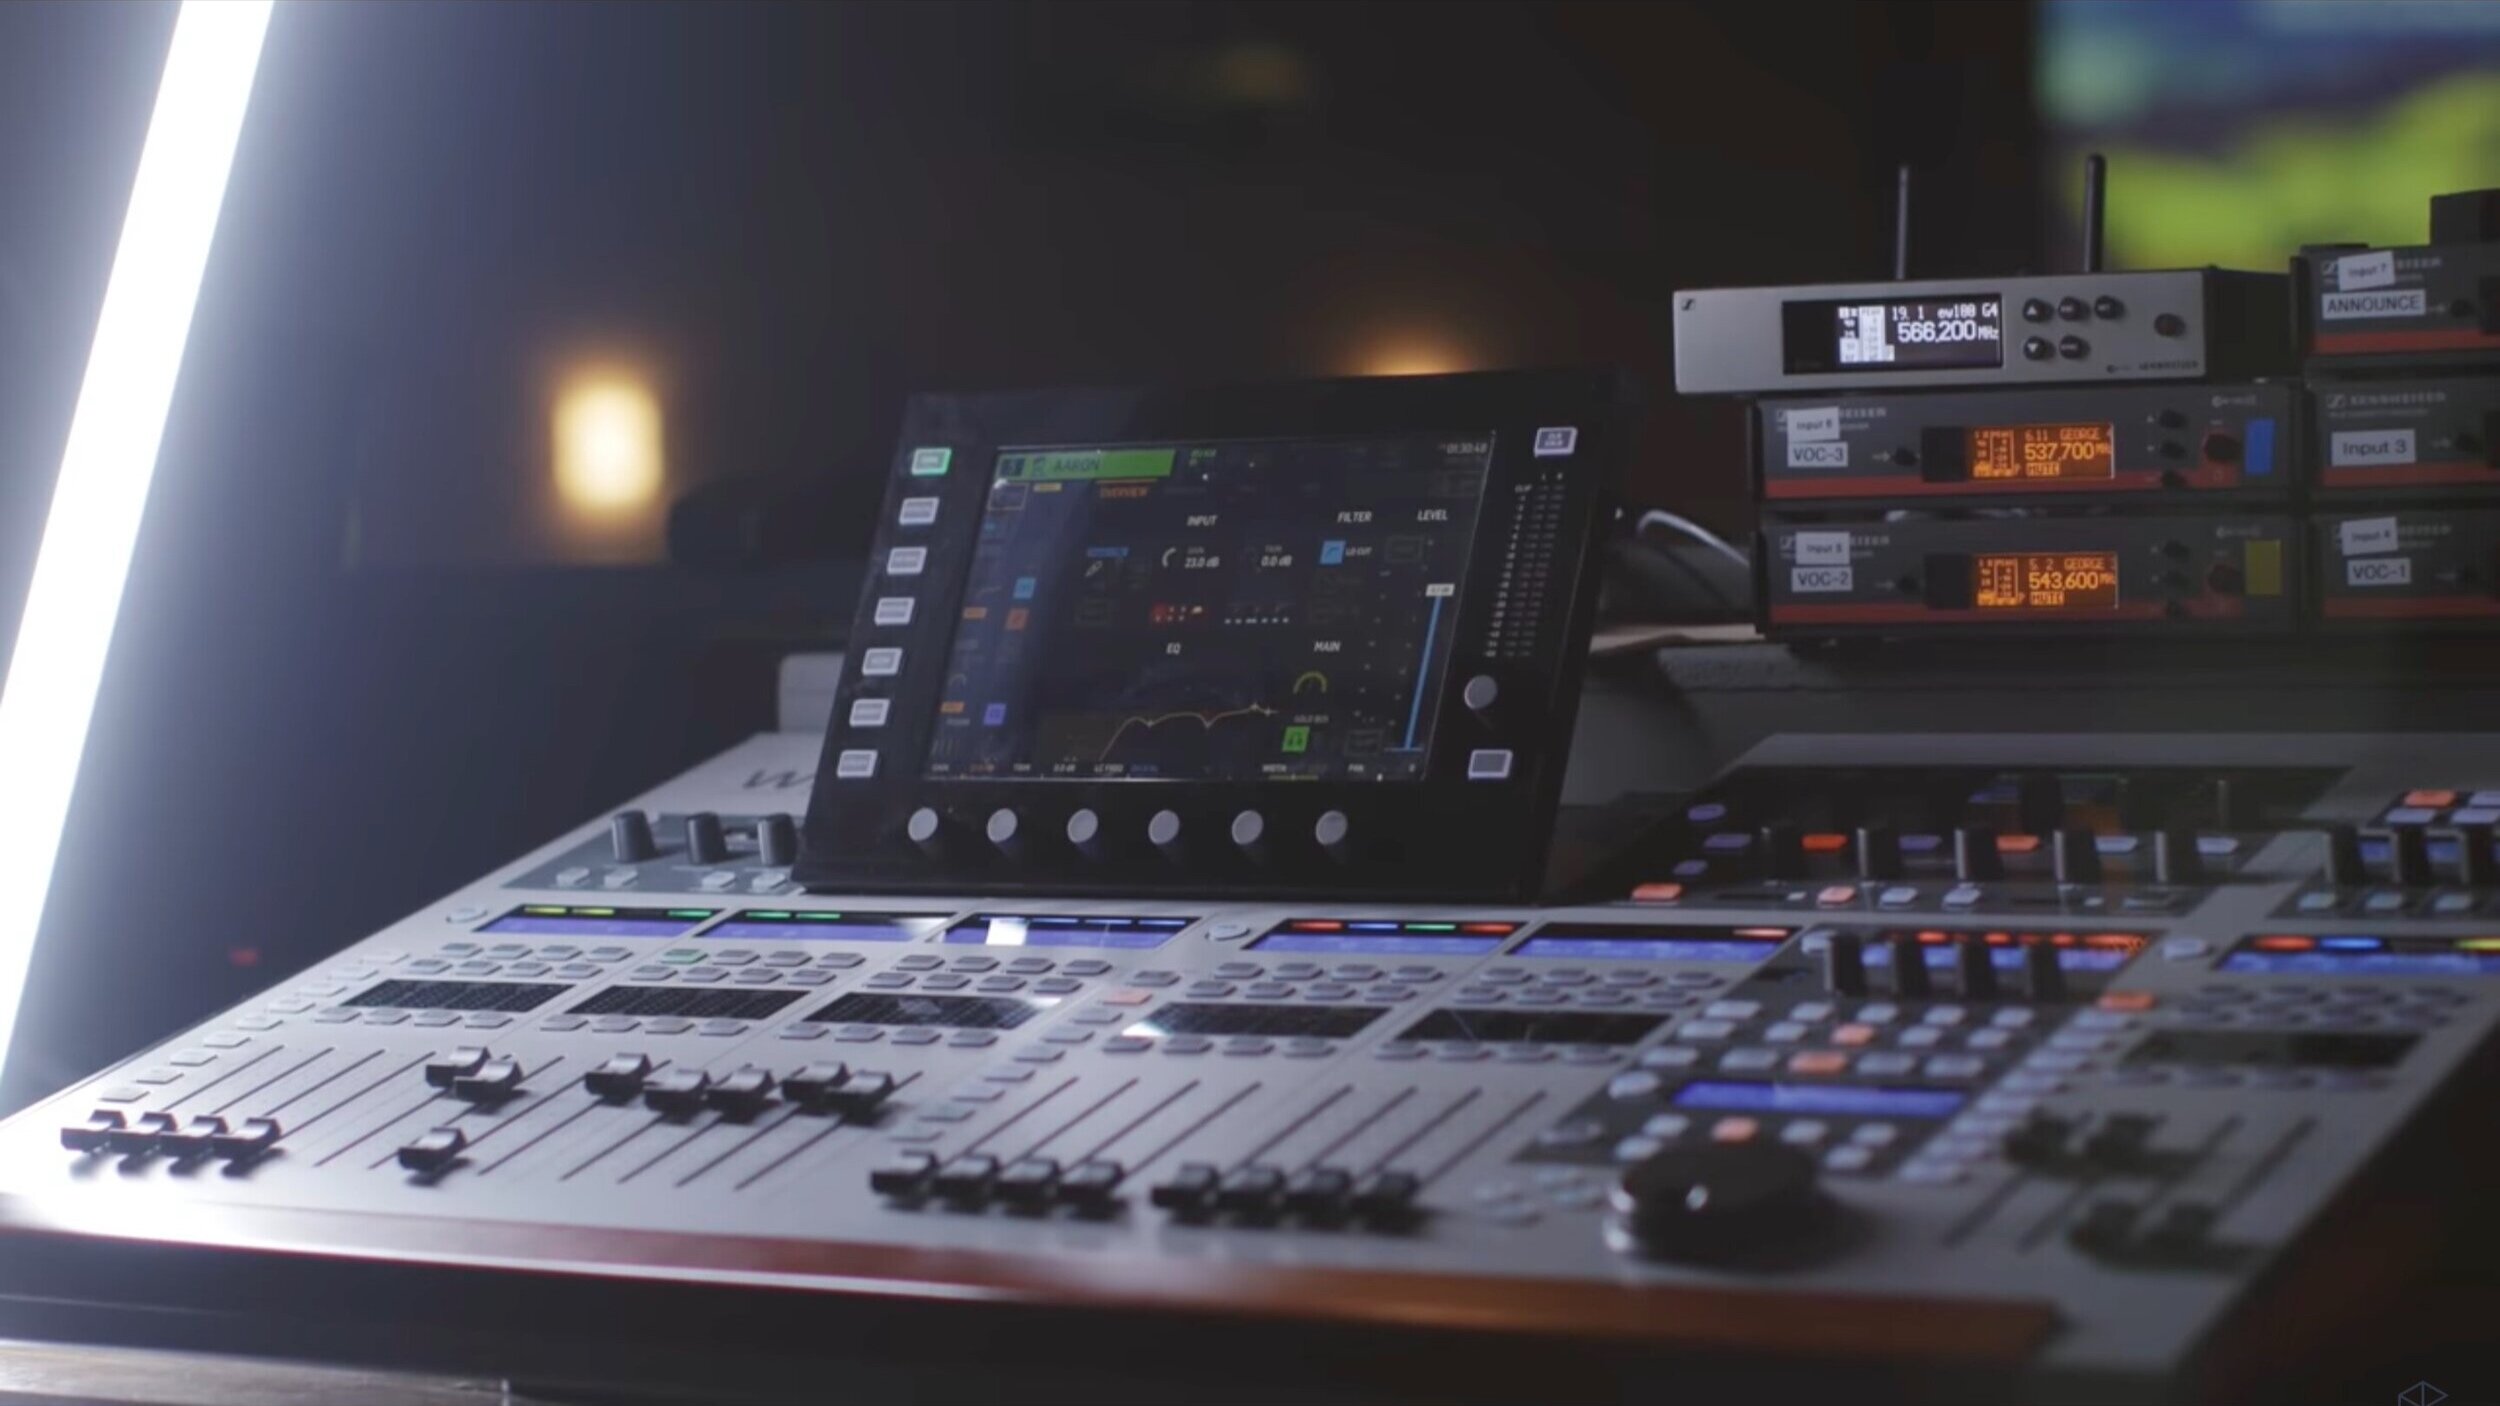
Mixer: Behringer WING 

How to Process Vocal Mics

Step 1: Gain

Step 2: Low Cut/High Pass Filter

Step 3: EQ

Step 4: Compressor

Step 5: Pitch Fix Plugin

Step 6: Effects (Reverb and Delay)


It’s also worth noting that there are so many great demonstrations of these steps that you can view through the YouTube video above. So, to see any of these steps in action, check out the video. 

Before we begin, check out our Beginner’s Guide to Church Sound online course. It’s a step-by-step guide that’s great for helping new sound techs in a church. We’ll instruct you on the anatomy of a sound system, how all the gear works, microphone types, etc. We also cover the essentials of processing audio so you can understand all the concepts in this post. You and your team will gain instant access through enrolling, and your worship ministry is guaranteed to be improved. 


Hardware

Vocal Microphones

Screen Shot 2021-05-27 at 8.51.38 AM.png

With a vocal microphone, it’s important to have a handheld dynamic microphone. It could be wireless, but wireless mics will cost more, especially for a quality one. Jake is a fan of good old-fashioned wired mics. For years, he’s been using the Shure SM58 or Beta58.

The Shure mics work well. They're great standard microphones and, when processed correctly, they'll sound great every time. 

But recently Jake wanted to make an upgrade, so that’s when he picked up a Telefunken M80 dynamic microphone. It comes in at around $250, and it's not super expensive like a Neumann condenser microphone. It’s a great middle of the road option that provides a bump in quality while keeping a reasonable cost. 


Behringer WING

Screen Shot 2021-05-27 at 8.49.54 AM.png

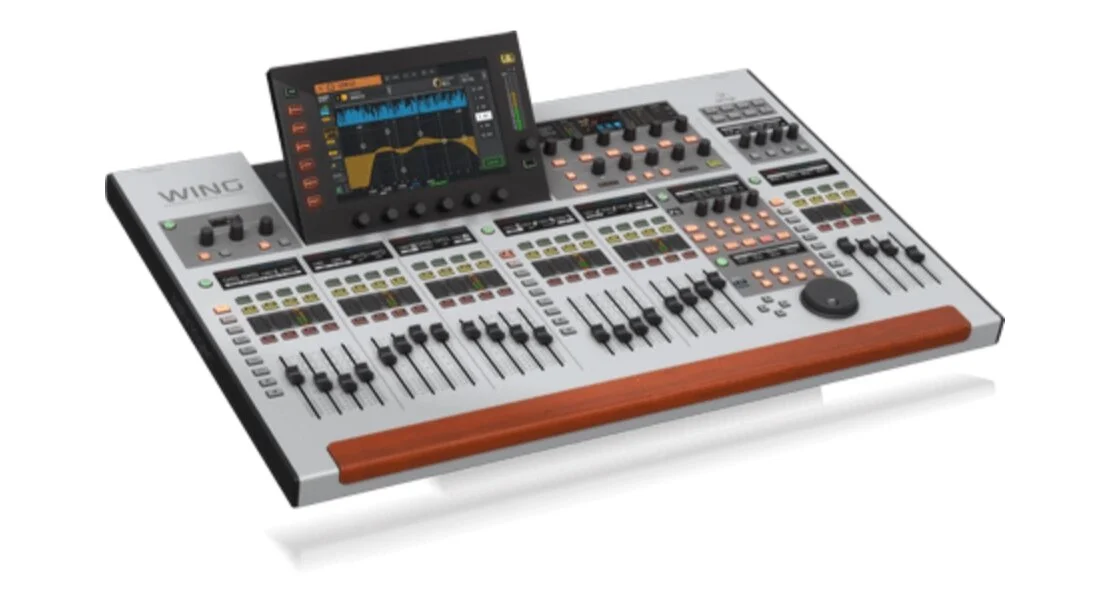
Finding the right microphone is important, but if a church doesn’t have a great mixing console to process the audio, then buying a good microphone is pointless. It would be like buying great off-road tires and putting them on a minivan. In order to get the most out of a vocal mic, get a mixing console that can process its audio well. 

That’s where the Behringer WING comes in, which is one of Churchfront’s recommended consoles. For the rest of this post, the audio processing will be done on a WING. 

How to Process  Vocal Mics


Routing the Mic to the Mixer

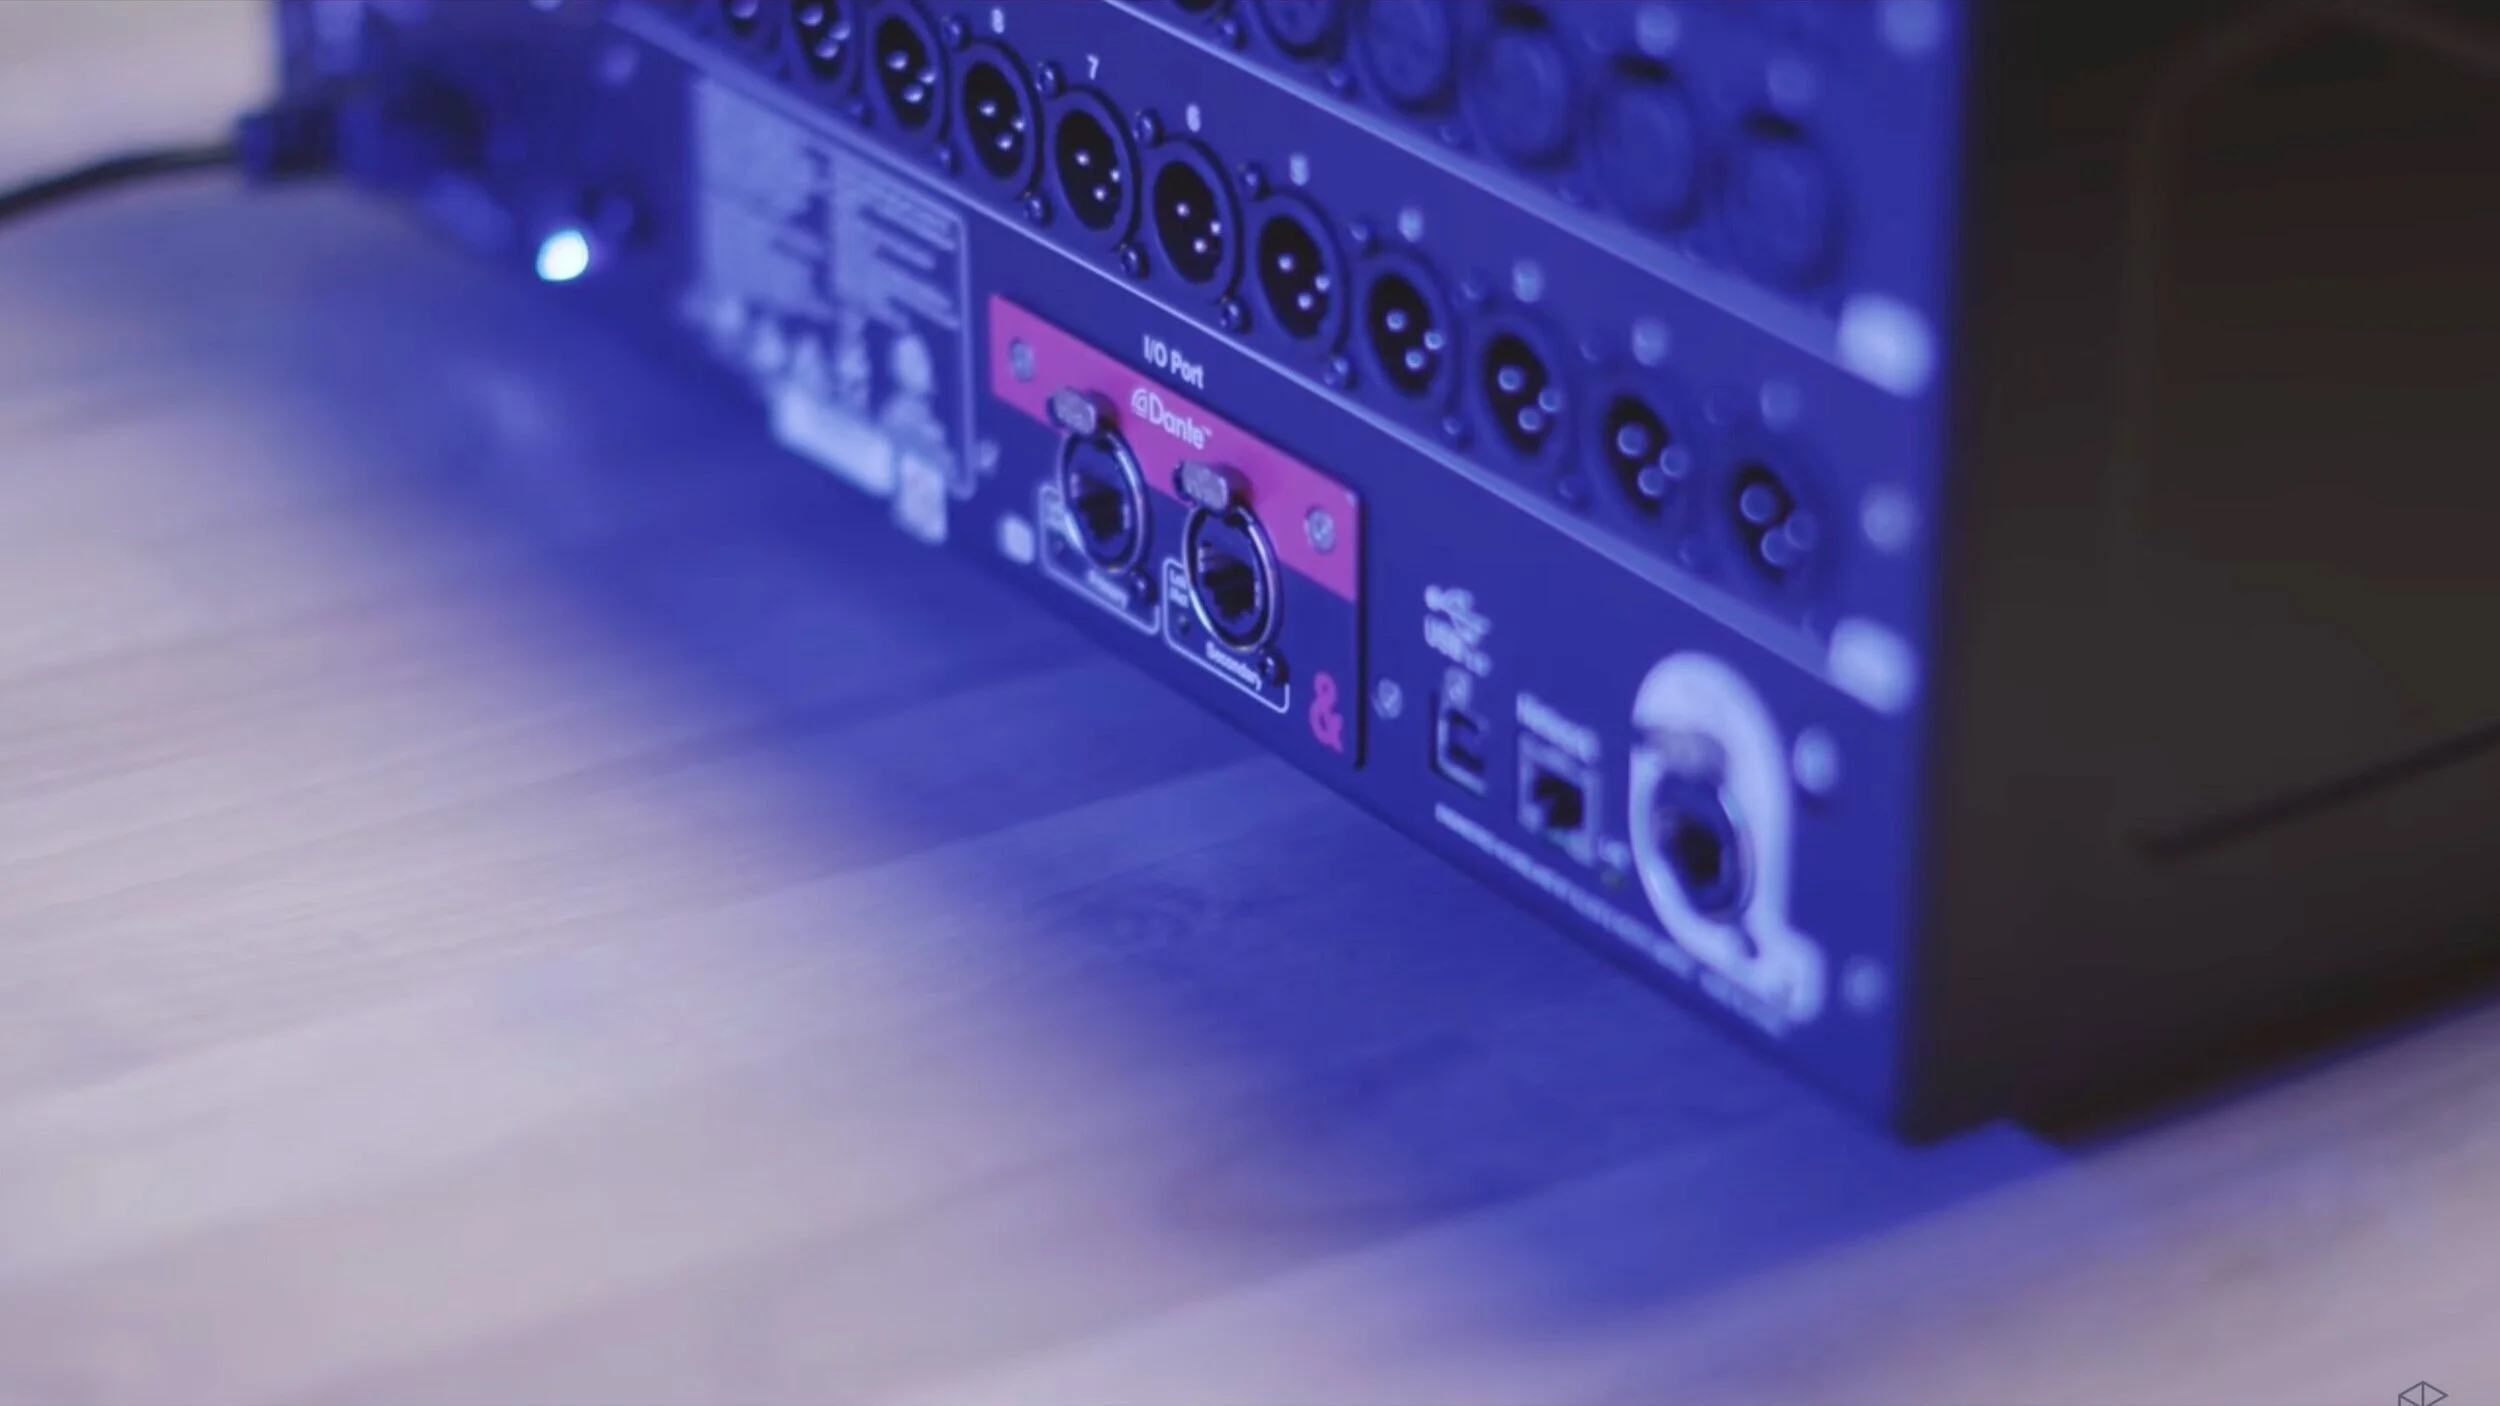
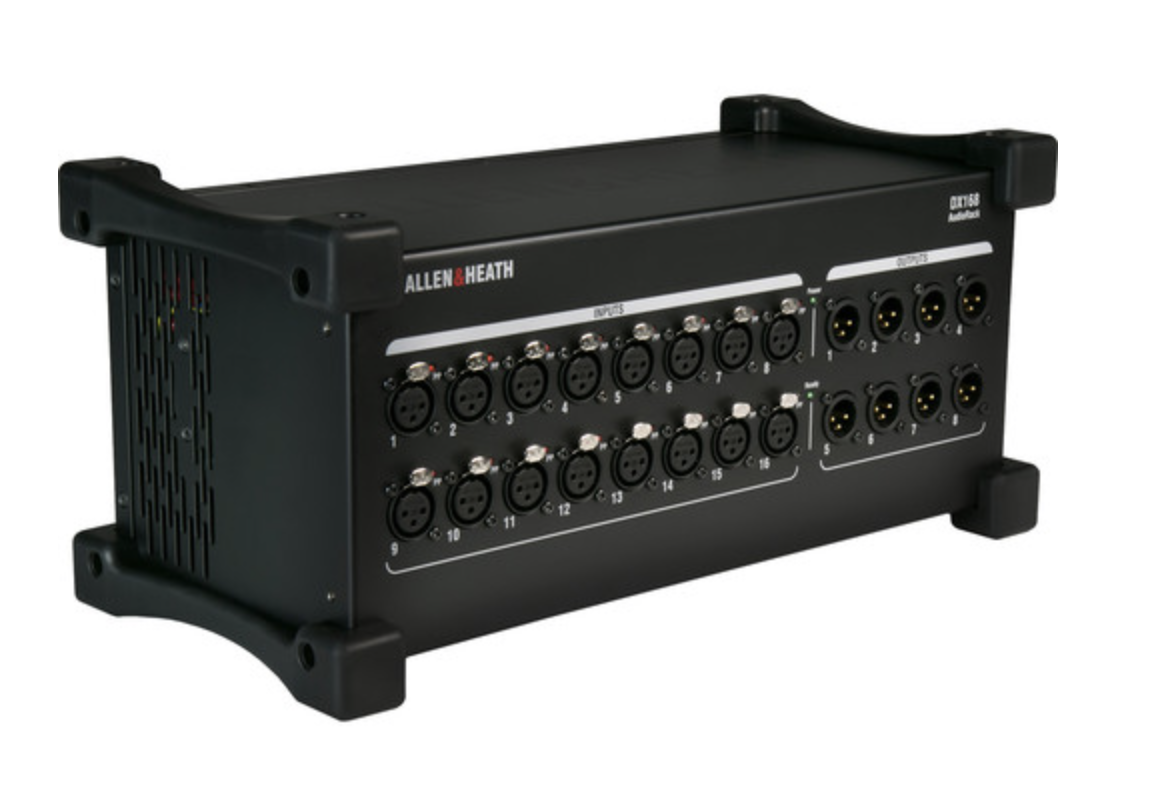
Once the sound waves from the voice enter the microphone, it goes through an XLR cable straight into the stage box, which is on stage. Jake’s church has an S16 Behringer stage box. The signal from that box goes to the mixing console over AES-50. 

Step 1: Gain

The foundational concern of processing vocal audio is adequate signal coming into the channel on the sound console. Apply too much gain, and there will be too much noise with overcompensation happening in other areas. Too quiet, and there obviously won’t be enough of a signal to work with. 

For vocal mics, a sweet spot is to meter around -12 db. This depends on many factors, but it’s a helpful rule of thumb.

One of those factors that could change the gain setting is mic placement in relation to the PA speakers. Ideally, the mic should be behind the speakers. In Jake’s setup, his microphones are right next to the speakers, which isn’t ideal. He’s able to make up for that gain with digital trim, however.

step 2: Low Cut/High Pass Filter

Screen Shot 2021-05-27 at 8.26.53 AM.jpg

Adding a low cut or high pass filter (HPF) removes the lower end frequencies of the vocal audio. Jake likes to cut out the low end up to around 290 Hertz. This means that any frequencies under 290 Hz will be cut out, causing the vocal audio to “cut” through the whole mix better. In other words, Jake explains that worship vocals shouldn’t sound like a radio host or Joe Rogan. Removing the low end sounds nice, pleasing, and it makes everyone happy.

For a demonstration, be sure to check out the YouTube video above. 

step 3: Equalizing (EQ)

Screen Shot 2021-05-25 at 8.40.12 AM.jpg

Equalizing tunes the vocal audio to sound pleasing within the entire frequency spectrum. On any digital sound console, navigate to the EQ settings, and the HPF should already show itself as active. The art of EQing any instrument or voice is one that takes practice and skill. It’s far too big of a feat to explain how to EQ well in this post, so check out Churchfront’s Beginner’s Guide to Church Sound. For those who understand EQ, here’s the snapshot for for how Jake sets up his voice EQ. Jake cut his voice by 6 db at 576 hz, cut 3 db out of 3k hz, and boosted the 10k hz frequency by 1.5 db. 

EQing vocal audio this way gets rid of the low junk, the mid box-y sound, adds some sparkle to it, and takes away the harshness. This is a crucial step.

step 4: Compressor

Screen Shot 2021-05-25 at 8.54.42 AM.jpg

Now that EQ is done, it’s compressor time. 

In a nutshell, the compressor makes the loud parts quiet and the quiet parts louder. It’s so important to not distract the church with inaudible or over-the-top singing, so compressors eliminate those potential distractions. 

Here’s how Jake compresses his voice. 

The first setting is the ratio. Jake chooses a 5:1 ratio. Next, is the threshold, which is at minus 29 decibels. Next is the makeup gain, which is important because if a voice is being compressed by five decibels, it’s important to make up for that at five decibels to smooth out the sound.

Jake’s attack is set around 10 seconds so that his voice can cut through the mix but not cut through the too much before the compressor comes down. 

It’s best to put the compression after the EQ so that the signal that’s being compressed is the actual and desired EQ-d voice.

Pitch Correction

Screen Shot 2021-05-27 at 8.27.40 AM.jpg

On consoles like the WING, pitch correction is available as a plugin. This is so much easier than attaching a computer and tuning voices through a Digital Audio Workstation (DAW) like Ableton Live. Don’t have a newer console that has this feature included? Be sure to check out Waves’ autotune software and watch our How-To video on how to use it. 

For churches with consoles like the WING, using pitch correction helps eliminate distraction. Don’t think T-Pain in the worship service. These corrections are small and subtle, but when used well, a plugin like this can do wonders for the vocal mix. 

Reverb

Screen Shot 2021-05-27 at 8.28.34 AM.jpg

Reverb gives voices a sense of space, even in smaller venues where the effect of a larger venue just isn’t possible. In other words, adding a reverb effect helps people feel like they're in a bigger space. It sounds pleasing.

Jake is using a plate reverb with 2.6 of decay and pre-delay at 65 milliseconds. It’s good to have the pre-delay setting a little higher so the reverb doesn’t make the voice muddy. That way, the reverb is kicking in 65 milliseconds later, causing some helpful separation.

Delay

Screen Shot 2021-05-27 at 8.28.43 AM.jpg

Lastly, delay can be helpful when used sparingly. Too much, and it gets really distracting and frustrating. The best way to enable delay is to have the tap tempo assigned to an assignable button on the console and assign the delay (and reverb, too) to a DCA or custom-assignmable fader so the audio volunteer can simply push up the delay and the voice keeps going. To hear how this works out, check out Jake’s demonstration in the YouTube video above. 

Wrapping Up

This concludes how Jake sets up his vocal mic, and we hope this knowledge can bless your own church’s audio mix and worship ministry, overall. 

Remember to check out Churchfront’s Beginner’s Guide to Church Sound in order to be fully equipped to run a church’s audio well, especially if any of this post was overwhelming or unfamiliar. This is an in-depth course that works through all the fundamentals of mixing audio. Check it out. 


5 Broadcast Mixing Accessories for Church Live Streaming

One of the most important elements of worship ministry today is the broadcast mix. Through a church’s broadcast mix, the gospel is shared, God’s Word is preached, and the church is made accessible. But building, running, and accessorizing a broadcast mix station isn’t easy, so that’s where Churchfront is here to help! 

In this post, we’re going to pitch five solid and helpful broadcast mix accessories that will be sure to improve your worship ministry. But if you want in-depth training on how to build and operate your church’s broadcast mix with excellence, check out our Broadcast Mix Mastery course. From Ableton, to using plugins, to running a livestream, we cover it all. So check it out!


First Accessory: Klark Teknik DN9630

Screen Shot 2021-05-22 at 10.28.32 AM.png

A computer running an Ableton broadcast mix needs audio from the mixer, right? Well, running audio over USB more than probably 5 to 10 feet is a bad idea. USB cables start creating issues when they run really long.

Introducing the Klark Teknik DN9630. 

Newcomers to Churchfront will learn quickly that we advocate using a Dante network over AES50 protocol to route audio throughout the room. However, this tool can act as a great stand-in for those who maybe can’t order or access a Dante card at this time. If a church owns a mixer like the Behringer WING, then this is where the three AES50 ethernet ports on the back come in handy. Use the A and B ports for stage audio, and then use the C port for the broadcast mix. Running audio over CAT-5 can span hundreds of feet without connectivity issues.

Second Accessory: The Optogate PB-05

Screen Shot 2021-05-22 at 10.31.03 AM.png

Talkback mics are important. They help volunteers in the back interact with the worship leaders at the front. But isn’t it annoying to hit the talk back button every time you need to talk? 

This is a cool little tool. The Optogate is a noise gate that only opens up via infrared. So put your mouth up to the mic and the infrared red sensor is triggered that opens the gate. Just start talking! Never worry about toggling a button again. 

Third Accessory: touchAble Pro App

Screen Shot 2021-05-22 at 10.34.13 AM.png

This is an accessory for controlling an Ableton broadcast template with an iPad. Purchase it for $15 on the app store, connect it over USB or Wi-Fi to the computer using Ableton, download the desktop app, and touchable will automatically sync with the computer, giving complete control through the iPad.

Screenshot of touchAble Pro on iPad

Screenshot of touchAble Pro on iPad

The visual feedback for the faders is great, even better than the feedback Ableton provides. TouchAble provides audio metering, it matches the color-coding, and you can record and solo channels. It does it all, and it’s always connected. 

Fourth Accessory: Alclair In-Ear Monitors

Screen Shot 2021-05-22 at 10.47.30 AM.png
Jake getting his ears molded for his Spire Six Drivers

Jake getting his ears molded for his Spire Six Drivers

A recent video highlighted Jake upgrading his headphones when he stopped by Alclair. Jake ordered six driver headphones, the Spire Six Drivers, to be exact. They go for $849 here on Alcair's website. Jake was blown away by the difference from his RSM Quad Drivers to these headphones. He could hear the highs and lows so much better. 

The RSM Quad Drivers are great. But if you have the money, we would recommend these Six Drivers over the Four Drivers. The difference is significant, especially when comparing between two custom sets. These are very important tools for a Broadcast Mix because hearing everything that’s going on is crucial. The mix also has to be very isolated, excluding any room noise bleeding in to the mix. This is where the Six Drivers shine.

Fifth Accessory: Elgato Stream Deck

Screen Shot 2021-05-22 at 10.39.12 AM.png

The magic of a Stream Deck is that settings can be changed within different applications at different stations with just the push of a button. It uses MIDI commands through a native Stream Deck app and toggles functions of other apps/devices. Whether it’s muting/unmuting, mimicking keyboard commands, or other commands, the Stream Deck removes the pain of pointing your cursor to click on things. It saves time. It makes things simple.

It has things clearly labeled, and it provides great visual feedback. Most of all, the amount of errors that a tech team could make.

There you have it!

We hope these accessories can be a blessing and improvement to your worship ministry and broadcast mix. Again, be sure to check out our Broadcast Mix Mastery Course if you or your team desire more training in all things broadcast mix and live-streaming. Happy mixing!

Seven Tips to Improve Your Worship Broadcast Mix

Be sure to check out Churchfront’s Broadcast Mix Mastery online course if you desire a better live stream mix for your church. This is a great course for beginners who are new to mixing in a digital audio workstation like Ableton Live.


Looking to achieve a professional broadcast mix for your worship ministry? This post will cover strategies that make the most significant improvements in the sound of any worship band, even if a church has a modest budget. 

Here are seven ways to improve the audio mix of any church live stream. 

Before we get going

So much of the proof of this post is packed into the YouTube video above, where Jake walks through each step with helpful in-depth examples, so do not finish this post without watching these tips in action! 

Let's dive in.

Tip #1: Reduce Cymbal Bleed

This first tip has nothing to do with mixing on a console or processing audio. Instead, it has to do with stage volume and getting a clean signal in the first place. One of the biggest challenges of multi-track recording and streaming a worship band is dealing with lots of stage volume. The most common issue is cymbals from the drum set bleeding into vocal microphones. Next time there’s a chance to listen back to a multi-track recording of the worship band, solo the vocal mics and listen for how much cymbals are bleeding into the lead vocals. Often, the high-hat is the worst culprit of all the cymbals. For example, when a vocal mic picks up the cymbals, EQ and compression only make the cymbals more pronounced. The result is that it’s nearly impossible to fix this problem in post-production. 

There are multiple solutions for reducing cymbal bleed. First, tell the drummer to stop hitting the high hat and cymbals so dang hard. That's a way to solve this problem without having to purchase any additional gear. Next, consider purchasing some plexiglass drum baffles or full-on shields. Another option is to implement full drum isolation to completely eliminate the problem of cymbal bleed. 

This problem is so common in small to midsize churches because their stages are so small. Churches with larger stages often get away with no drum shield or baffles because bleed won't be that much of a problem.

Tip #2: Get the Gain Staging Right

Make sure the gain is set up properly on the mixing console or stage box preamps. This is an important principle to follow for any situation, be it a live or broadcast mix. Mixing in a DAW like Ableton Live provides the flexibility to boost or cut gain, but this has no effect on the actual pre-amp. It's merely a digital trend being applied within the DAW. The best rule of thumb is to have gain metering around a -12 on average, and then peaking no higher than -6 decibels. If there’s not enough gain, the result is to crank up the digital gain in Ableton, and that will introduce noise. And if the gain is too high, it's going to clip and distort.

For a demonstration, watch the video above.

Tip #3: Use a Digital Audio Workstation (DAW) to mix your live stream

Churchfront’s favorite digital audio workstation is Ableton Live. It's cross-platform, CPU-efficient, runs any third-party plugins, and it can also be used for a variety of other purposes in your worship ministry like a keyboard or a tracks rig.

Many churches purchase a second mixing console for their broadcast mix. Do not make that expensive mistake. This route costs way more than mixing in a DAW, and it rarely sounds better. A DAW like Abeleton live can be scaled to the size of any worship ministry, and a DAW never runs out of tracks. Plus, DAWs provide way more processing and plugins to create an amazing mix.

To get up and running with a DAW, it is as easy as grabbing a USB cable, purchasing a DAW like Ableton Live (Pro Tools or Logic are great choices, too), installing that DAW on a computer (which is probably in the tech booth already), and connecting the mixing console to the DAW. From here, the audio volunteer can mix the audio through Ableton and send that final mix to streaming software or a video switcher. This also opens a worship ministry up to multi-track recording, which allows easy mixing in post-production. 

Tip #4: Use Vocal Tuning

For worship leaders in the room: Ever cringe listening back to recordings of yourself leading worship? It's probably because you didn't use live vocal tuning. 

waves.jpg

Churchfront’s recommended plugin for this is Waves Tune Real-Time. It's less than $100 for this plugin and you can install it in Ableton Live within minutes. 

Here’s how this plugin works. Drop the plugin on an individual vocal track, and in real time it will make adjustments to the singer’s pitch to ensure their voice is tuned perfectly. Of course, this plugin really only works for bringing vocals that are 97% in tune to 100% in tune. It can’t fix bad singing. Vocalists still need to know what they're doing and they still need to have a good in-ear mix. But even notes that are slightly out of tune will make a church cringe and distract from worship, so this is an easy, helpful step. Vocal tuning can eliminate distraction.

For a demonstration, watch the video above.

Tip #5: Drum Replacement

Of all the instruments, acoustic drums are the hardest to perfectly process for a church’s mix. That's where the drum replacement hack comes in handy. 

The plugin Churchfront recommends is Trigger 2 by Steven Slate. It's another third-party plugin that provides massive value for the price of $149. This plugin removes so much room for error when it comes to dialing in a consistent and pristine drum sound. 

Trigger 2.jpg

Most worship ministries don't have acoustic kicks that sound amazing on their own, and it's hard to mic and tune these drums. Just use drum replacement. It's going to sound amazing instantly.

For a demonstration, watch the video above.

Tip #6: More Reverb

While reverb can definitely be overdone in a broadcast mix, most people tend to underutilize it. If reverb isn’t used, vocals, drums, or acoustic guitars end up sounding very dry and those listening online has no sense of space. So don't be afraid to apply more reverb than what the church is used to in the live mix. 

Remember that people inside the church building are hearing the natural reverberations of the room. Hence, there’s no need to apply as much verb in a live context. 

For a demonstration, watch the video above.

Tip #7: Compression

Just like reverb, compression can be overdone. But in most cases, church live streams hardly utilize any compression at all. Not using compression causes vocals and other instruments to have a wide dynamic range, resulting in a sound that’s not smooth at all. When singers are quiet, like when they trail off at the end of a phrase, they’re barely heard. And when they sing  loud, their voices overpower everything else. Compression works wonders on vocals.

For a demonstration, watch the video above.


This completes our list of seven tips to enhance worship broadcast mixes. We hope your worship ministry will be served by it! 


Don’t forget to check out Churchfront’s Broadcast Mix Mastery online course. This course is great for absolute beginners who are new to mixing in a DAW like Ableton Live. It's comprehensive and covers every crucial step for getting started. 

Best Digital Mixing Consoles for Churches in 2021

Ready to upgrade your church’s mixing console in 2021? Building a new audio system from scratch? Churchfront is here to help. 

This post will cover Churchfront’s top two mixing console recommendations for churches in 2021, and by the end, you’ll find out which console takes the crown. 

It can feel overwhelming to pick the right gear for a church’s worship ministry. This post will cut through the noise and narrow the decision making down to two mixers that will work great for the vast majority of small to medium size churches. 

Need more help improving your church’s audio? Check out The Beginner's Guide to Church Sound, a step-by-step online course for worship tech teams. It's a concise introduction to mixing audio in a worship ministry environment, covering topics such as the anatomy of a sound system, signal processing, and navigating any modern day mixing console. 

How much will these cost?

For churches looking to buy a brand new mixing console in 2021, Churchfront has two recommendations. Both of these mixing consoles cost around $3,000. So, when you factor in the cost of a stage box, which is highly recommend, churches will be looking at less than $5,000 for a really robust setup.

Behringer WING

Screen+Shot+2021-04-10+at+1.55.49+PM.jpg

The first recommended church mixing console is the Behringer WING. Here's why it stands out among the pack. 

Screen+Shot+2021-04-10+at+1.56.14+PM.jpg
Screen+Shot+2021-04-10+at+1.56.07+PM.jpg
  1. Massive value for the price 

    Ten years ago, Behringer disrupted the world of digital mixing consoles with the X32. They've done the same thing with the WING. For $3,000, the WING offers forty-eight stereo channels and twenty-eight stereo mix buses. This means churches have plenty of room to accommodate a growing worship ministry.

  2.  Intuitive and highly customizable user interface

    It's so easy to navigate the routing, the processing, and the layout. It’s actually much more intuitive than the X32 or M32 (older models). And because the layout of the board is customizable, churches can set up the WING exactly for their needs for Sunday services or other events.

  3. It’s easy to upgrade

    Because many churches own a Behringer console like the X32 or M32, they likely have stage boxes or personal monitoring devices (like the S32, S16, or P16) that support Behringer gear already. In most cases, these devices are automatically compatible with the WING. 

    The WING also has an expansion card slot for digital audio networking protocols like Dante. Behringer just announced the Dante expansion card in early 2021, and they will likely release a MADI in a waves sound grid card in the near future. A quick word of advice: Because the WING is a newer model, be patient with Behringer as they continue to release software updates to fix any bugs and add cool new features. The WING will likely become just as widely used as the X32 or M32 over the next few years as it matures and becomes more popular. 

Allen and Heath SQ-5,6, or 7

Screen+Shot+2021-04-10+at+2.00.04+PM.jpg

The second recommended church mixing console is the Allen and Heath SQ-5, SQ-6, or SQ-7. 

Allen and Heath makes very high-end mixing consoles found in large professional venues. With the SQ line of consoles, the same pro-level digital sound processing is packed into an affordable and portable form factor. The primary difference between the SQ-5, SQ-6, and SQ-7 is simply the size of the board itself. The features and processing power of the various models are identical.

Most churches should consider purchasing the smallest version, the SQ-5, and then invest the dollars saved towards more stage boxes. The Churchfront team does have an SQ-5 in the studio, and here’s what sets the SQ-5, 6, and 7 apart. 

Screen+Shot+2021-04-10+at+2.00.26+PM.jpg
Screen+Shot+2021-04-10+at+2.01.32+PM.jpg
  1. High quality of preamps and processing

    The sonic quality of the preamps and processing in this console is incredible. It's subtle and hard to describe until it’s experienced firsthand. But if a church really cares about preamps, digital processing, and latency, they should seriously consider an SQ series console.

  2.  High quality of hardware

    These mixers physically feel pro-level. The faders and knobs are very responsive, and it is evident that this mixer is made of high-quality hardware.

  3. Great remote-control app

    Most remote-control companion apps on a phone or tablet seem like an afterthought of the manufacturer. The Behringer apps have always been less than impressive, but that's not the case with the SQ apps. These apps allow users to control the entire console with a tablet or monitor mix with their phone. 

Screen+Shot+2021-04-10+at+2.01.24+PM.jpg

A couple other points of note…

  1. The SQ consoles have an expansion card slot for Dante, Waves or MADI. 

  2. The touchscreen on the SQ mixing consoles is very responsive and the menus are very intuitive to navigate. It isn’t as intuitive as the WING, but it's still pretty good. 


Buying an Allen and Heath SQ console is a solid choice. Churches who use this console will benefit from pristine audio processing and ultra low latency. And, for audiophiles who really care about that stuff, this will be the console for them.

Who Wins?

Screen+Shot+2021-04-10+at+2.16.22+PM.jpg
Screen+Shot+2021-04-10+at+2.00.55+PM.jpg

When it comes to the most value for churches, our team gives the WING first place. The innovations listed above makes this console extremely likable. The WING also has a larger selection of plugins and effects that emulate some of the most popular plugins for EQ, compression and vocal tuning. The SQ console only provides basic channel strip processing and an eight-rack effects engine. The WING provides sixteen effects to work with.  

How to make the choice between the WING and SQ consoles

Here’s what it comes down to when making the choice between the WING or the SQ console.  

  1. Already have Behringer gear like the stage boxes and P16 personal mixers monitors?

    It’s better to go with the WING. 

  2. Desire more effects and plugin options?

    Go with the WING. 

  3. Desire premium digital sound processing and a small form factor?

    Go with a SQ console. 


There's much more that could be said about the WING and the SQ sound consoles that could sway a church toward one console over the other. But here’s the bottom line: in the end, a church won’t go wrong with either console.

What about the consoles by PreSonus, Yamaha, Soundcraft, Mackie, etc.?

All of these manufacturers have great mixing solutions in the $3,000 to $5,000 range, but they’re simply not the top two consoles Churchfront recommends. However, these mixing consoles deserve an honorable mention. If a church’s heart is set on the Yamaha TF, PreSonus StudioLive, or Soundcraft Si Impact, and these mixers have all the essential features that church needs in a digital console, then it may not be a bad idea to consider these options. But as of the year 2021 that this post is written, the Churchfront team is recommending either the Behringer WING or the Allen and Heath SQ series consoles to the clients that we work with in Worship Ministry School.

The Benefit of Support

Although there are other great consoles out there, the WING and the SQ consoles are really taking off in churches who are upgrading their mixers. One of the benefits of owning one of these two consoles will be the community and the support that surrounds them.

A factor worth taking into consideration is how widely a product is adopted. The team here at Churchfront in the very near future will be developing complete walkthrough videos for these consoles. So definitely check out Worship Ministry School. We walk worship leaders and their team through how to set up these consoles step-by-step for the first time. And we really believe that these particular consoles are going to serve so many churches very, very well over the coming years.

Recommended Peripheral Gear

After acquiring one of these new mixing consoles, it’s important to purchase the right I/O (inputs/outputs) and adequate in-ear monitoring. Here are peripheral gear suggestions for both the WING and the SQ Series.

Setup for the Behringer WING

The Behringer WING has a ton of flexibility for audio inputs and outputs. Most churches will need an AES50 enabled stage box. Consider having at least 32 inputs and 16 outputs available on stage. 

Stage Box Options

The Behringer S32 would be a good purchase and is the most economical option. 

Want the same connectivity as the S32 but with Midas Pro preamps that offer slightly better sound quality? Buy the Midas DL32. 

Behringer S32

Behringer S32

Midas DL32

Midas DL32

Need stage boxes on each side of the stage? Try purchasing two Behringer S16s, placing them on different sides of the stage. If a church needs stage boxes that have inputs for both quarter-inch and XLR connection, it could pay a little bit more for the Behringer SD16 or SD8 stage boxes.

Monitoring Options

A few options are available for monitoring.

The easiest monitoring solution is likely to pull the in-ear monitor mix directly from the analog mix bus outputs from the stage box and connect them to a wireless transmitter. Another option is using the Midas DP48, which is incredibly powerful. A personal monitor like the Powerplay P16 is an option, too, but the P16 is limited to only 16 channels, so keep that in mind. And be remember that AES50 protocol is recommended if purchasing a personal mixer like the DP48 or P16.

Screen+Shot+2021-04-10+at+1.57.38+PM.jpg
Screen+Shot+2021-04-10+at+1.57.53+PM.jpg

Setup for the Allen and Heath SQ Series

Allen and Heath stage boxes are on the pricier side and come in at almost twice the cost of Behringer stage boxes. However, these stage boxes provide more premium preamps. 

Stagebox Options

Screen Shot 2021-04-10 at 2.28.41 PM.png

Churchfront recommends picking up two of the DX168 boxes to provide 32 inputs and 16 outputs on the stage. 

Monitoring Options

For in-ear monitoring, consider routing the auxiliary mixes to the analog outputs on the stage boxes. The other option is to pick up an Allen and Heath personal monitoring system like the 16 channel ME-500 or the 40 channel ME-1. 

On a Budget?

Here are a few other ideas for churches who cannot put aside $3-5k for a mixing console and gear. Consider picking up a Behringer X32 or X32 compact. There may be a chance Behringer may not be making these consoles for too much longer. Because of this, the prices have recently dropped to less than $2,000. That is insane for what these consoles can do. 

Also consider picking up the Behringer XR18. They’re a bit older, but a church that has an even tighter budget and needs portability could give this console a look.


Thanks for taking the time to learn about our recommended mixing consoles for 2021. A ton of gear was listed in this post. So remember to download Churchfront’s free Worship Ministry Toolkit and navigate to the mixing console tab, where all of the items and URLs are listed in one convenient place.

Also, check out the courses Churchfront offers, especially the Beginner's Guide to Church Sound. It's such a great starting place for worship leaders who want to learn more about building and navigating a robust sound system their church. It covers all the fundamentals of processing audio and mixing for worship. It demystifies all the terms like gain, EQ, compression, gates, effects, mixed buses, etc. So go ahead and enroll today. 

And be sure to subscribe to Churchfront’s YouTube channel where seemingly endless content can be found on how to help grow a worship ministry. 

10 tips for better church sound


Listen to the podcast session


Achieving a solid mix in a church worship gathering can be a struggle for a lot of worship tech teams. It’s difficult to find audio engineers with the knowledge, experience and most importantly, ear for the craft of mixing a worship band. Most churches cannot afford to hire a full-time or even part-time audio engineer. The responsibility of running sound is often left in the hands of well-intentioned volunteers who may be tech savvy but are novices to the art and science of mixing audio.

I recently sat down with Eric Olson, one of the audio engineers at Red Rocks Church. Eric started as a volunteer on the production team at Red Rocks, and over the past couple of years, he served his way up to being a contracted audio engineer. I have heard his mixing on numerous occasions since he works at the campus I attend. I have also played in the worship band at Red Rocks multiple times while he was running the front of house mix. To say he knows what he is doing with a mixer board is an understatement. He has not even graduated college, but he is creating a fantastic mix for the 3,000 people that attend the Littleton campus every weekend.

I asked Eric to share ten tips for better church sound. I wanted to create a simple guide for aspiring audio engineers or worship leaders responsible for training sound volunteers at their church. For those of you who are seasoned worship leaders and audio engineers, these tips will seem basic, because they are! I am convinced that church sound would be significantly better if more tech volunteers implemented these fundamental tips. Church sound can seem complicated and overwhelming, especially for those new to the responsibility. Keep it simple by taking Eric’s advice outlined below.

1. Know how your equipment works

Church sound engineers must be the resident expert on all aspects of the sound system. Understand what each piece of gear does by reading manuals or looking up tutorial videos online. Know the signal flow of your system. How does signal go from the front of house mixer to the stage for monitors, or to the main speakers? Parts of this system inevitably fail or malfunction. The sound engineer must be able to troubleshoot issues quickly.

2. Be a team player

The relationship between the audio engineer and worship and production teams is crucial. Often the audio engineer is the liaison between the band and the rest of the tech team. Over-communicate with one another. Use basic social skills. Be intentional about the tone you use as you communicate with the band. Remember you are on a team.

3. Learn the music

Audio engineers should know the music just as well as the worship leader. As a worship leader myself, I am super bummed when the guy or gal mixing the sound has no clue how the song should sound. If you are an audio engineer, you must be listening to the songs your worship leader has up on Planning Cetner. Listen for important parts of the songs like guitar solos. Know how loud the backing tracks should be. Know who is singing lead or harmonies. Listening to worship albums should be a part of your daily routine, not because it makes you super spiritual, but because you should be developing an ear for the genre of music.

4. Use your ears

With the rise of affordable digital consoles, the mixing experience has become increasingly visual. You can see all of your EQ, dynamics, and effects parameters on beautiful and bright displays. Remember that just because certain parameters look right on your mixer, doesn’t mean it will sound right. Maybe you found a Youtube video on how to EQ a kick drum. Don’t expect that copying the exact parameters will yield the same results in your church. Use your ears to fine tune the sound to your context, rather than sticking to someone else’s template.

5. Always be learning and evaluating

Being a lifelong learner is the key to success in every aspect of life. Continuously refine and hone your craft. Seek out advice and wisdom from more experienced audio engineers. Take advantage of online resources whether they are Youtube videos or podcasts on mixing.

6. Gain structure

The first step of sound processing as the signal from an instrument or vocal enters the board is setting gain structure. There are multiple methods and techniques for how you set gain structure that we do not have time to cover here. The important thing about gain is to make sure you have a strong enough signal coming to the board from your instruments or vocals, but not too high that it causes clipping and distortion. Learn more about gain structure here.

7. Compression

Affordable digital boards like the Behringer X32 come with a built-in compressor or dynamics control. When listening to professionally mixed music versus something you recorded on your phone with the voice memos app, you may notice that the volume levels of professionally mixed music are much more consistent whereas the levels on low-quality recordings are all over the place. Compressing vocals so that the lower volume sounds increased and the higher volume sounds decreased significantly increases the quality of a mix. In a live setting, your worship leaders vocals can drastically change volume if they move away from or toward the microphone, or if they a variation of vocal parts that are high and low in their range. A compressor smooths this all out. It’s also a hand tool to use on instruments like the kick drum so that the loudness of each strike of the kick drum sounds consistent. To learn more about how to adjust the parameters of a compressor or noise gate, click here.

8. EQ

Equalization plays a huge role in achieving an excellent mix. The key here is to reduce bad frequencies rather than boosting good ones. Use tools like the high-pass filters to get completely rid of low muddy frequencies on instruments that never need them. To learn more about EQ best practices, click here.

9. Effects

The most common effects you will hear in a professional environment are reverb and delay. Effects have the potential to both enhance and destroy a mix. Do not overdo it. If you are new to mixing, start with only applying a little bit of reverb with a second or two of decay. Eric has two types of reverb when he mixes. The first is his default reverb that has a one-second decay. It’s on almost all the time on the vocals. The second reverb has a four-second decay. He uses this reverb during appropriate climaxes of songs. Delay can also enhance a mix, but be especially careful with it. Most mixers come with a tap tempo feature to allow you to set the tempo of your delay to match the tempo of the song.

10. Volume

The most intensely debated aspect of church sound is volume. People in your church will inevitably complain about the volume. Some complain it’s too loud. Some complain it’s too quiet. Make sure you and your church leadership are on the same page about the volume and stick to that standard. Often when people complain about the volume of church sound, they are complaining about issues of EQ or some other mixing parameter that you can quickly adjust. EQ is probably the most common because poor EQ can make instruments sound harsh or piercing. Before you turn down faders, examine the other parameters explained above. A few additional notes about volume. Make sure the vocals can be heard above the instruments so people can sing along. As we already mentioned, know the music so you can make slight adjustments to instrument levels based on the style of the song.

I’m grateful for Eric taking the time to share these ten tips for achieving better sound. While this article is by no means a comprehensive guide to mixing sound for church worship services, hopefully, you can take away some valuable fundamentals for increasing the quality of your mix. Do not over-complicate this process. Keep it simple and always work towards refining your craft.